


Natural Flower Printing
When you hear the words “flower hammering,” a few different things might come to mind. But this crafting trend is actually an ideal way to make some one-of-a-kind prints using the foliage found right in your backyard!
Materials
Directions:
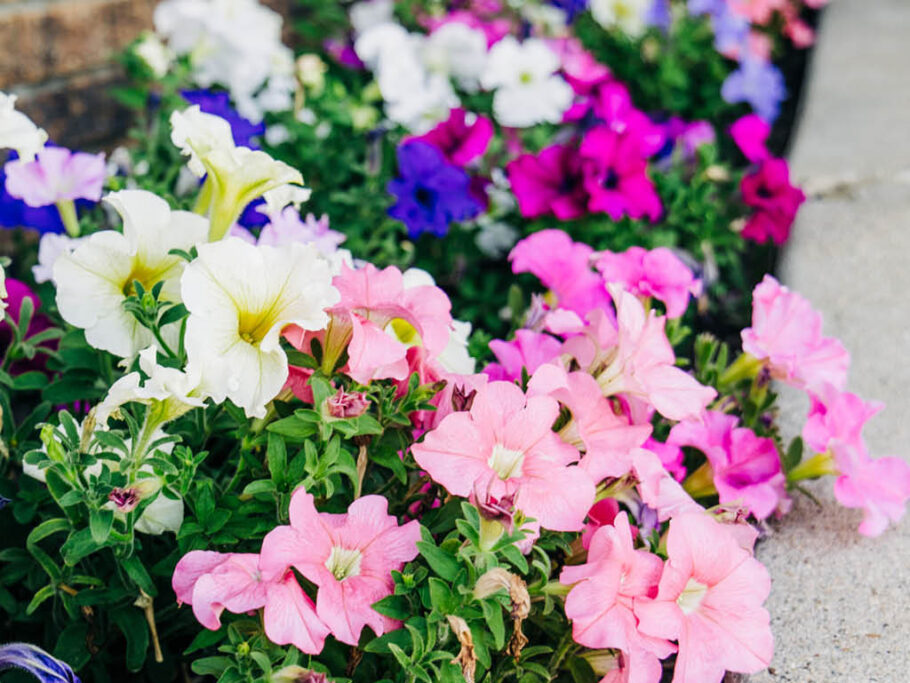
 Once you’ve gathered a handful of flowers and leaves, arrange them on a sheet of watercolor paper in the pattern that you want.
 Place the sheet on a sturdy cutting board, and lay a thin layer of paper towels over top.
- Use the pen to outline the section of the paper that you’ll need to hammer, drawing both vertical and horizontal lines as a guides.
 Using either a ball-peen or cross-peen hammer, begin to hammer the flowers into the paper. This may take several minutes for any color to show through the paper towel. You can peek at the paper to see how well it’s working.
 Hammer the flowers or leaves for about 5 minutes, until the paper is thoroughly dyed. Remove the paper towels, and spray over the print with a UV protective spray to keep colors looking vibrant.
5301 Views
Related Posts


Popular Posts