The Art of Calligraphy
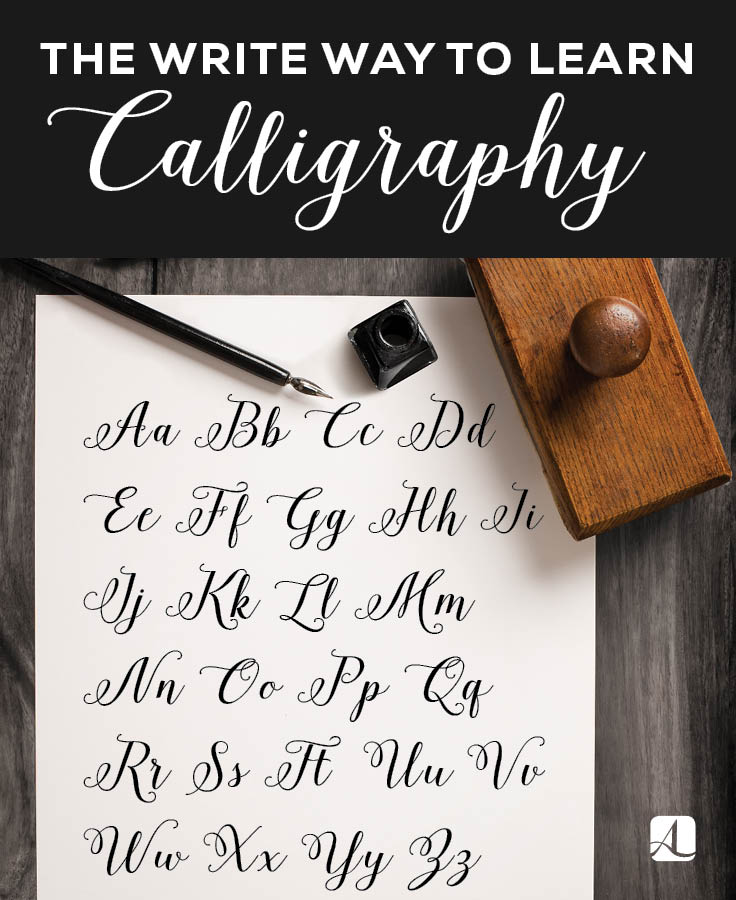
Calligraphy may seem like an intimidating skill to learn, but like anything else in life, practice makes perfect. It may take a little time, but by using the right equipment and following this helpful guide, you can master the ancient art that looks wonderful on cards, gifts, and even in home decor.
Materials
Start with what you know.
Instead of jumping right in with a calligraphy pen, practice the basic strokes with a standard ballpoint or gel pen. You are already used to holding these pens, and it will be easier to start learning hand control and movement with them.
Assemble your kit.
Not every calligraphy pen and nib (the changeable head of the pen) is created equal. There are certainly different types that are better for beginners, like the Nikko G nibs, which are easier to work with for beginners.
Prepare your pens.
All of the newly purchased nibs will need to be cleaned before use. The oils that are on the tips could disrupt the flow of your ink, so it’s imperative to wipe off all equipment with a nonfibrous cloth before you start.
Dip the pen and get your grip.
Hold the pen similar to a standard pen, trying your best to keep it at a 45-degree angle from the paper, and when dipping into the ink, be sure to not dip past the vent hold at the base of the nib—this will result in excess ink bleeding onto your paper.
Avoid a calligraphy catastrophe:
- If you keep catching the pen tip on the paper, hold it at a lower angle. The more vertical the pen, the likelier it is to snag. This can also help you avoid messy ink flow.
- Achieve a proper downstroke every time by making sure both tines (the sides of the nib) are even on the paper.
- Prevent the dreaded ink bleed by opting for higher quality, laser printer paper.
- Left-handed calligraphers are best suited for left-oblique cut nibs, while right-handed calligraphers should use square-cut.
- Be sure to dry your equipment after rinsing to prevent the nibs from rusting over time.

