


Transfer Your Photos to Wood in 4 Steps
Family photos are great gifts to give a loved one, especially if you put a little extra effort into the presentation. Instead of a plain frame, this simple photo transfer puts your favorite portrait onto decorative wood so you can really make a statement!
Materials
Directions:
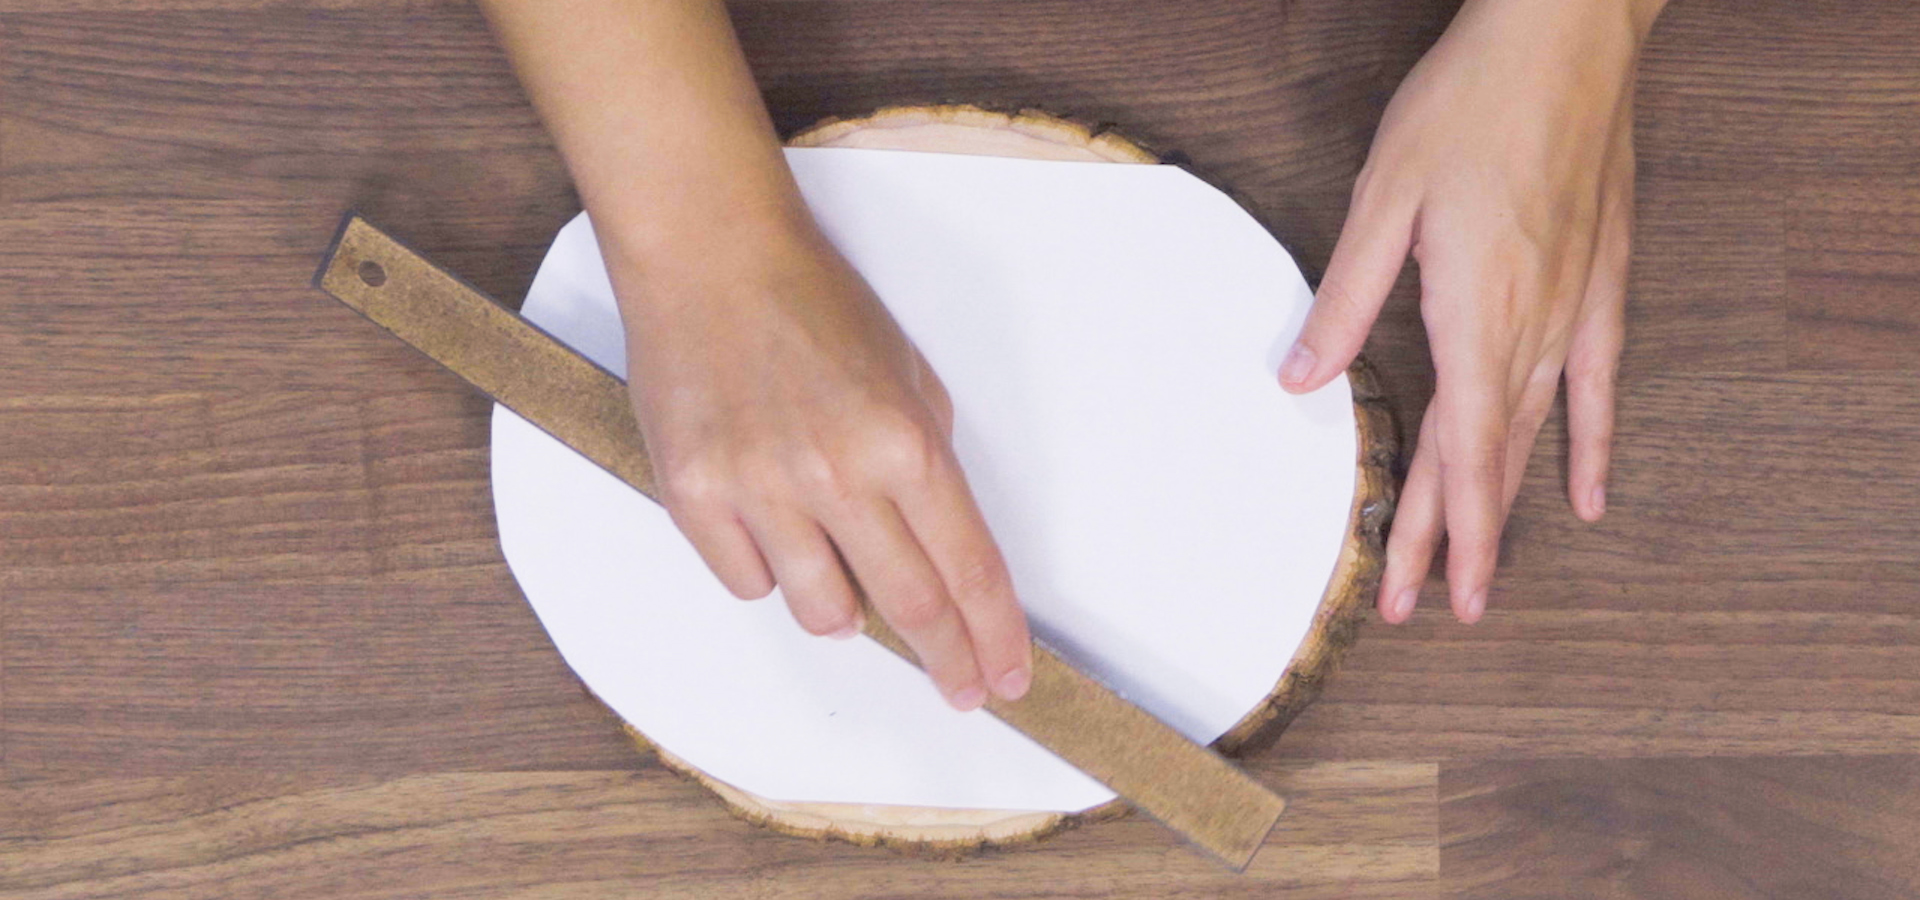
- Wipe down the piece of wood with a damp paper towel, and let dry. Place the wood over top of the photo, and cut the image down to the size of the wood (if too large).
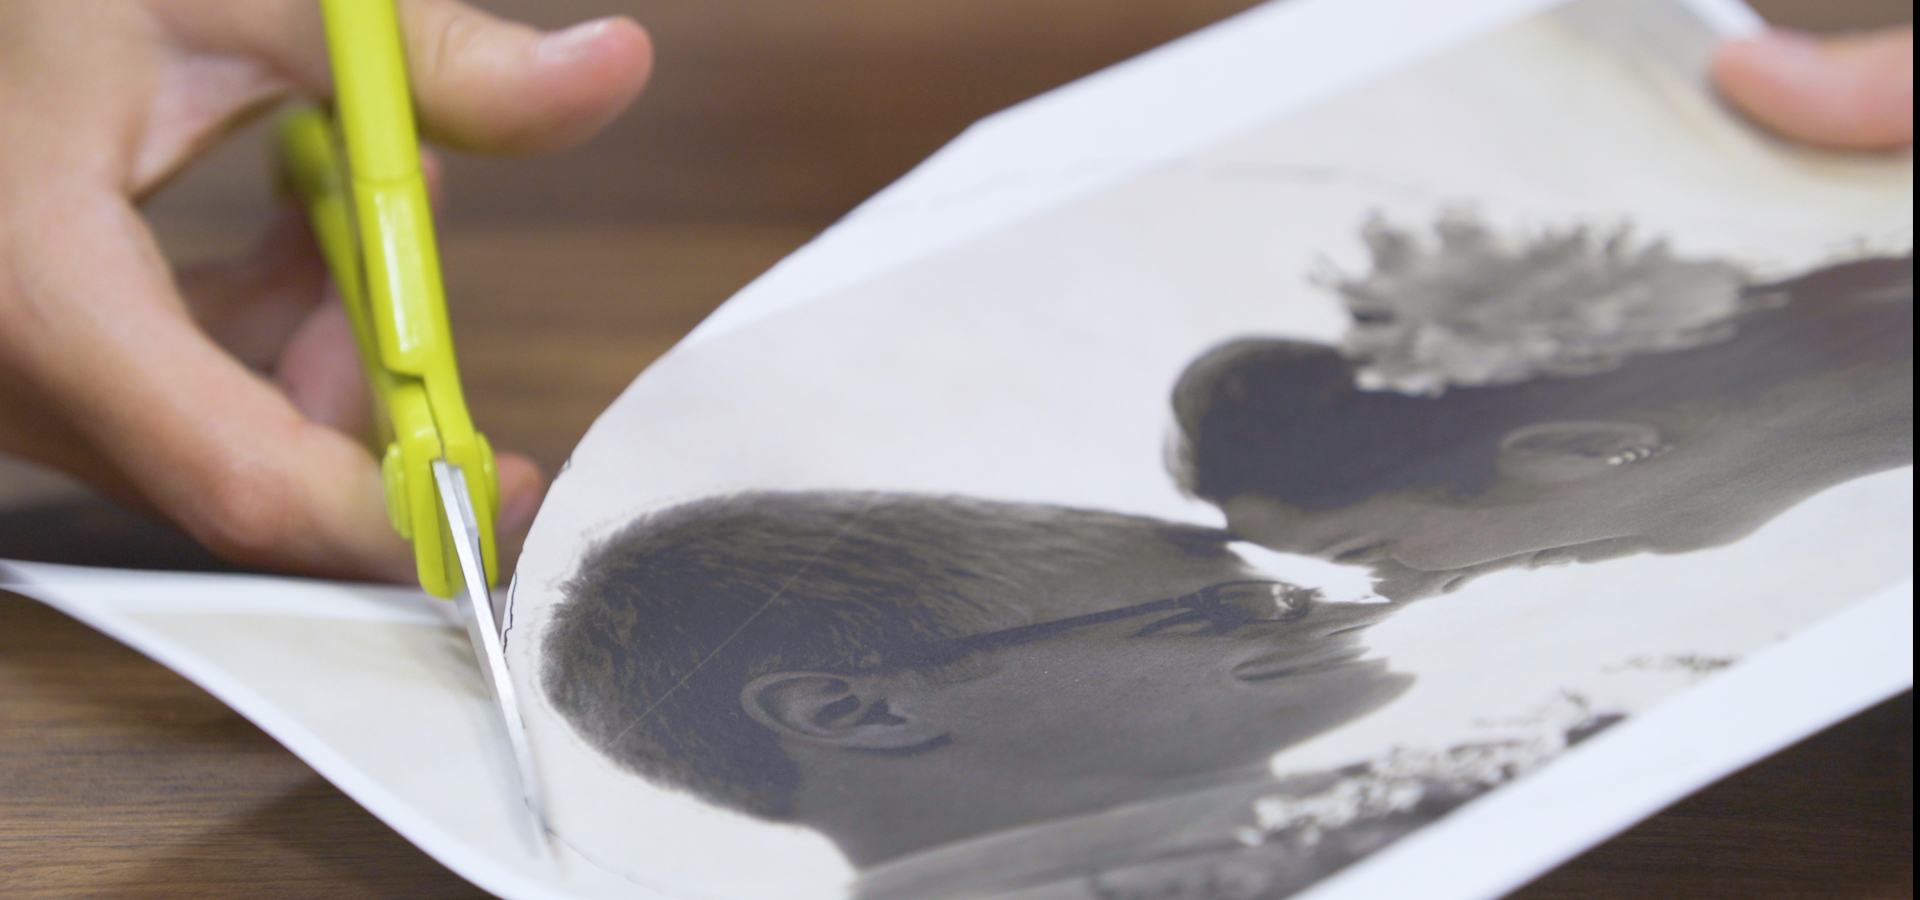
- With the paintbrush, apply a generous coat of the gel medium on top of the wood in the area where the photo will appear. Place the photo on top of the gel, and use the ruler to smooth out air bubbles. Let dry for at least 12 hours.
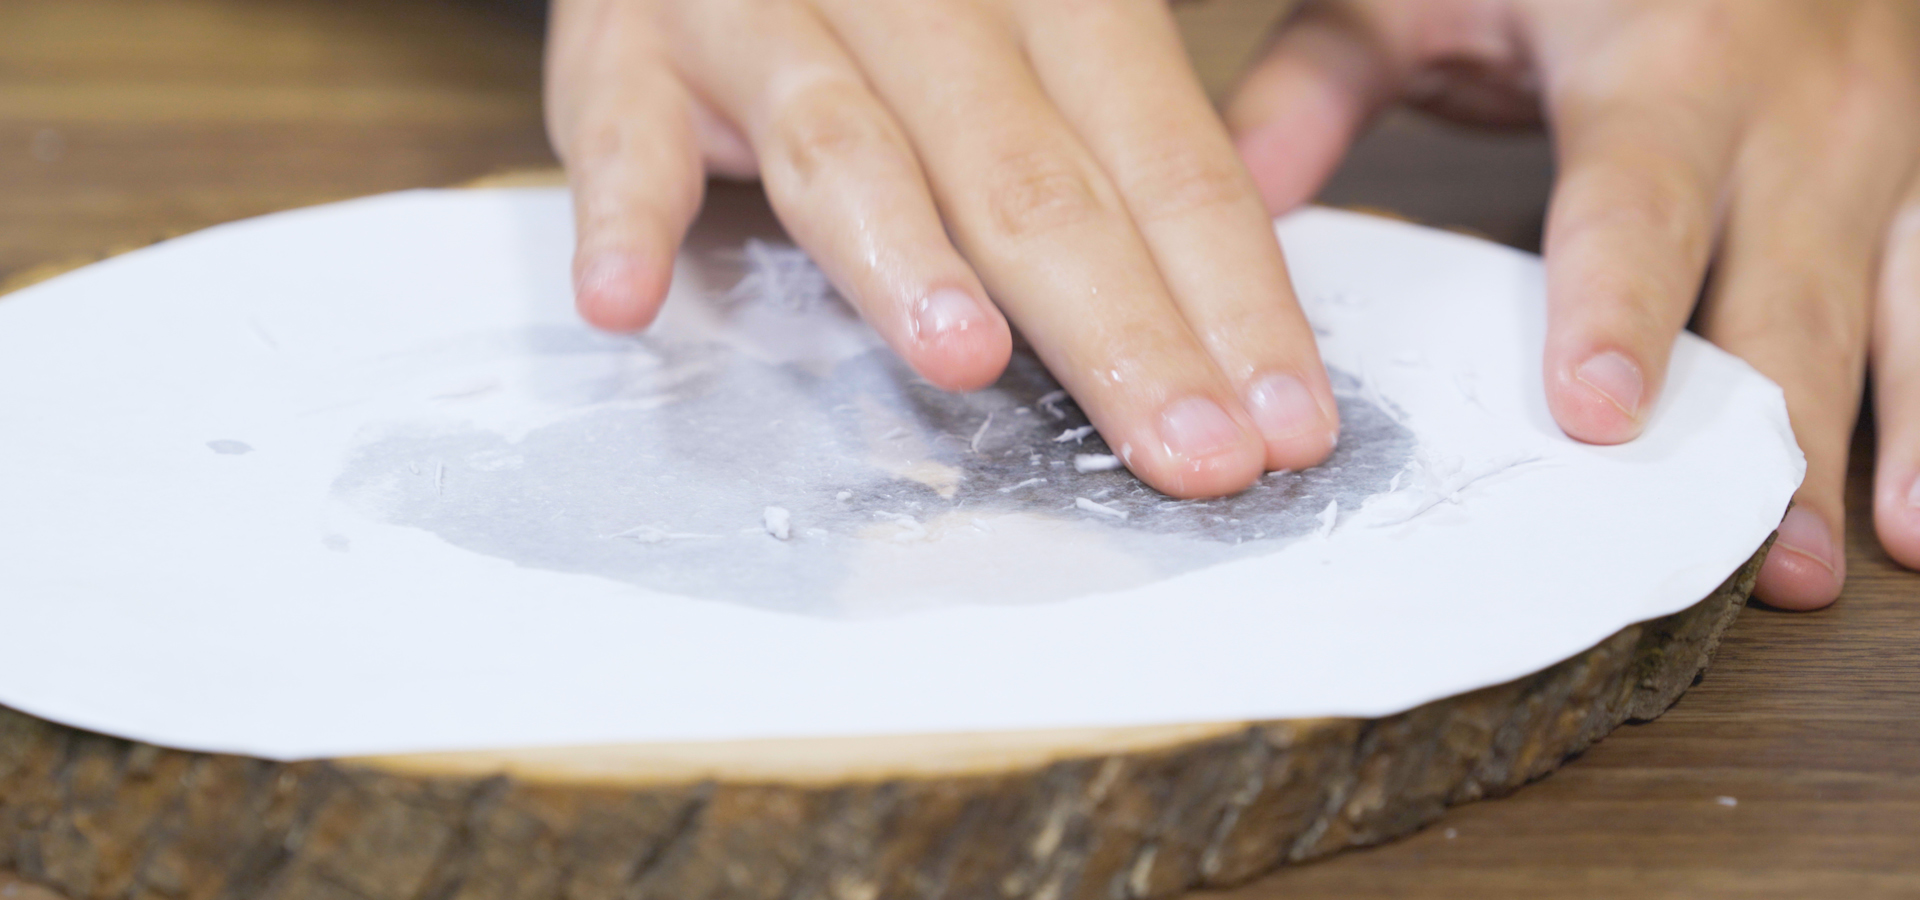
- When the image is dry, wet your fingers and slowly rub away the paper from the wood. Let dry again, and carefully remove any paper residue that remains.
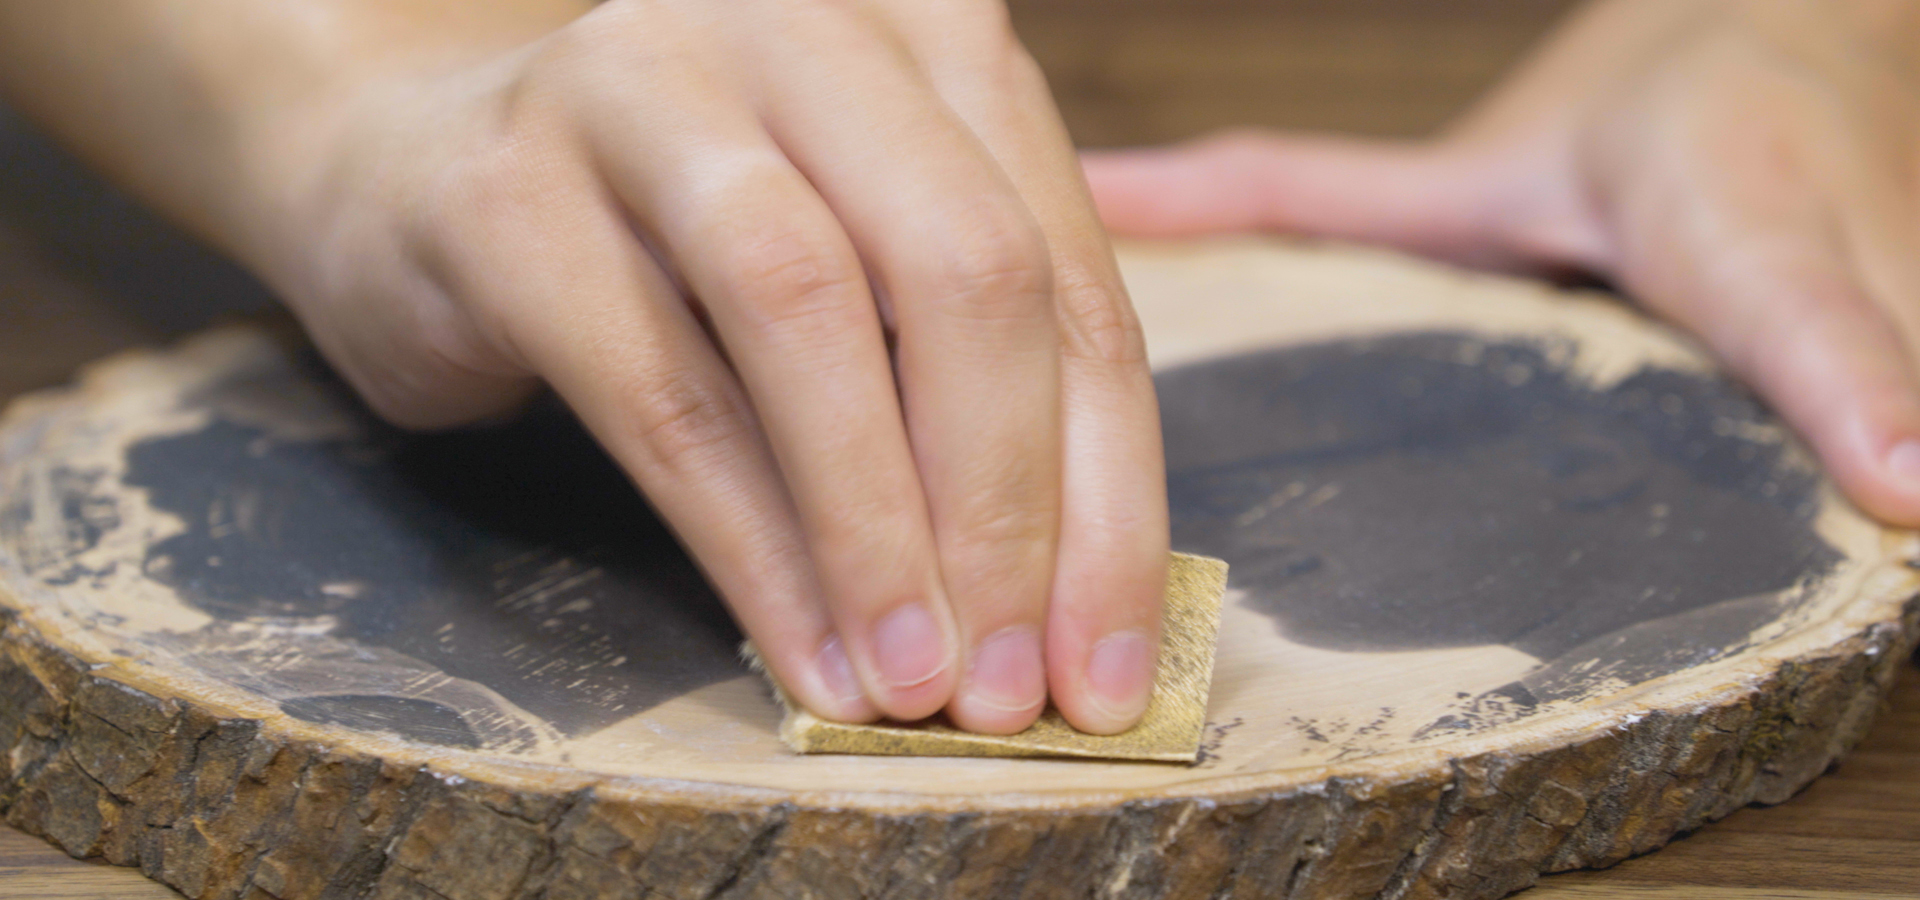
- For a more rustic look, use sandpaper to roughen the edges of the image. Once it looks as you want it, apply a thin coat of the Mod Podge®, and let dry.
11272 Views
Related Posts


Popular Posts