Family Fun Tie Dye Project
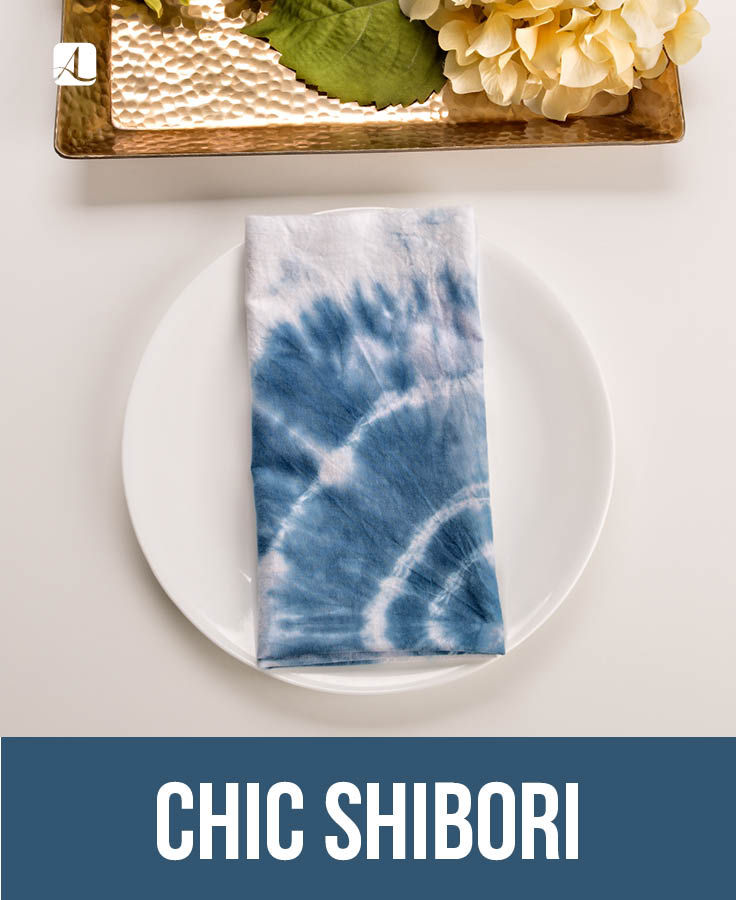
We’re all familiar with the tie-dye swirls made popular in the 1960s by rockers like Janis Joplin. But the tie-dye trend actually began with the Japanese technique of Shibori. This ancient style of dying is making a comeback, thanks to the beautiful and unique designs it creates on fabric using natural indigo dye.
Whether you’re in the mood for a colorful DIY project to try with the kids or simply want to exercise your DIY muscles, check out these Shibori methods and get dying!
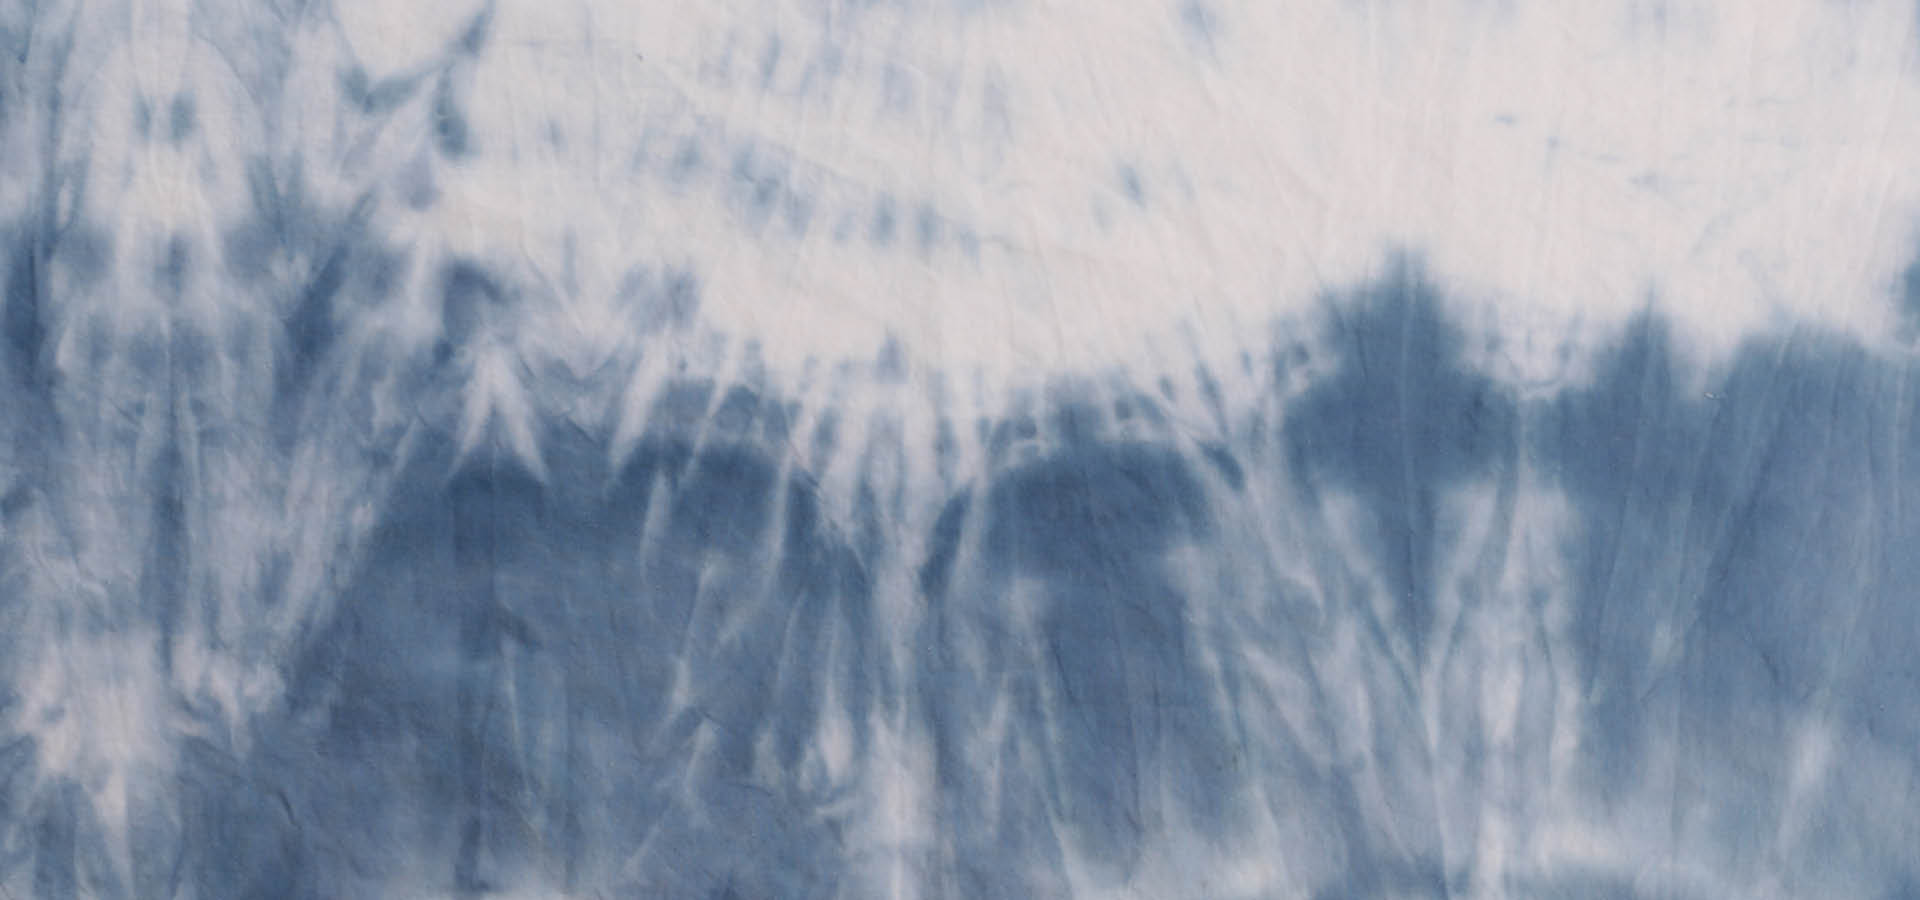
Arashi Shibori
For a diagonal, slash-like tie-dye pattern that looks similar to rainfall, try the Arashi method of Shibori.
Materials
Directions:
- Also known as pole wrapping. Wrap the fabric in a diagonal motion around a cylinder, such as a PVC pipe or pole.
- Bind tightly with thin wire or thread.
- Scrunch the cloth down on the cylinder, and dye.
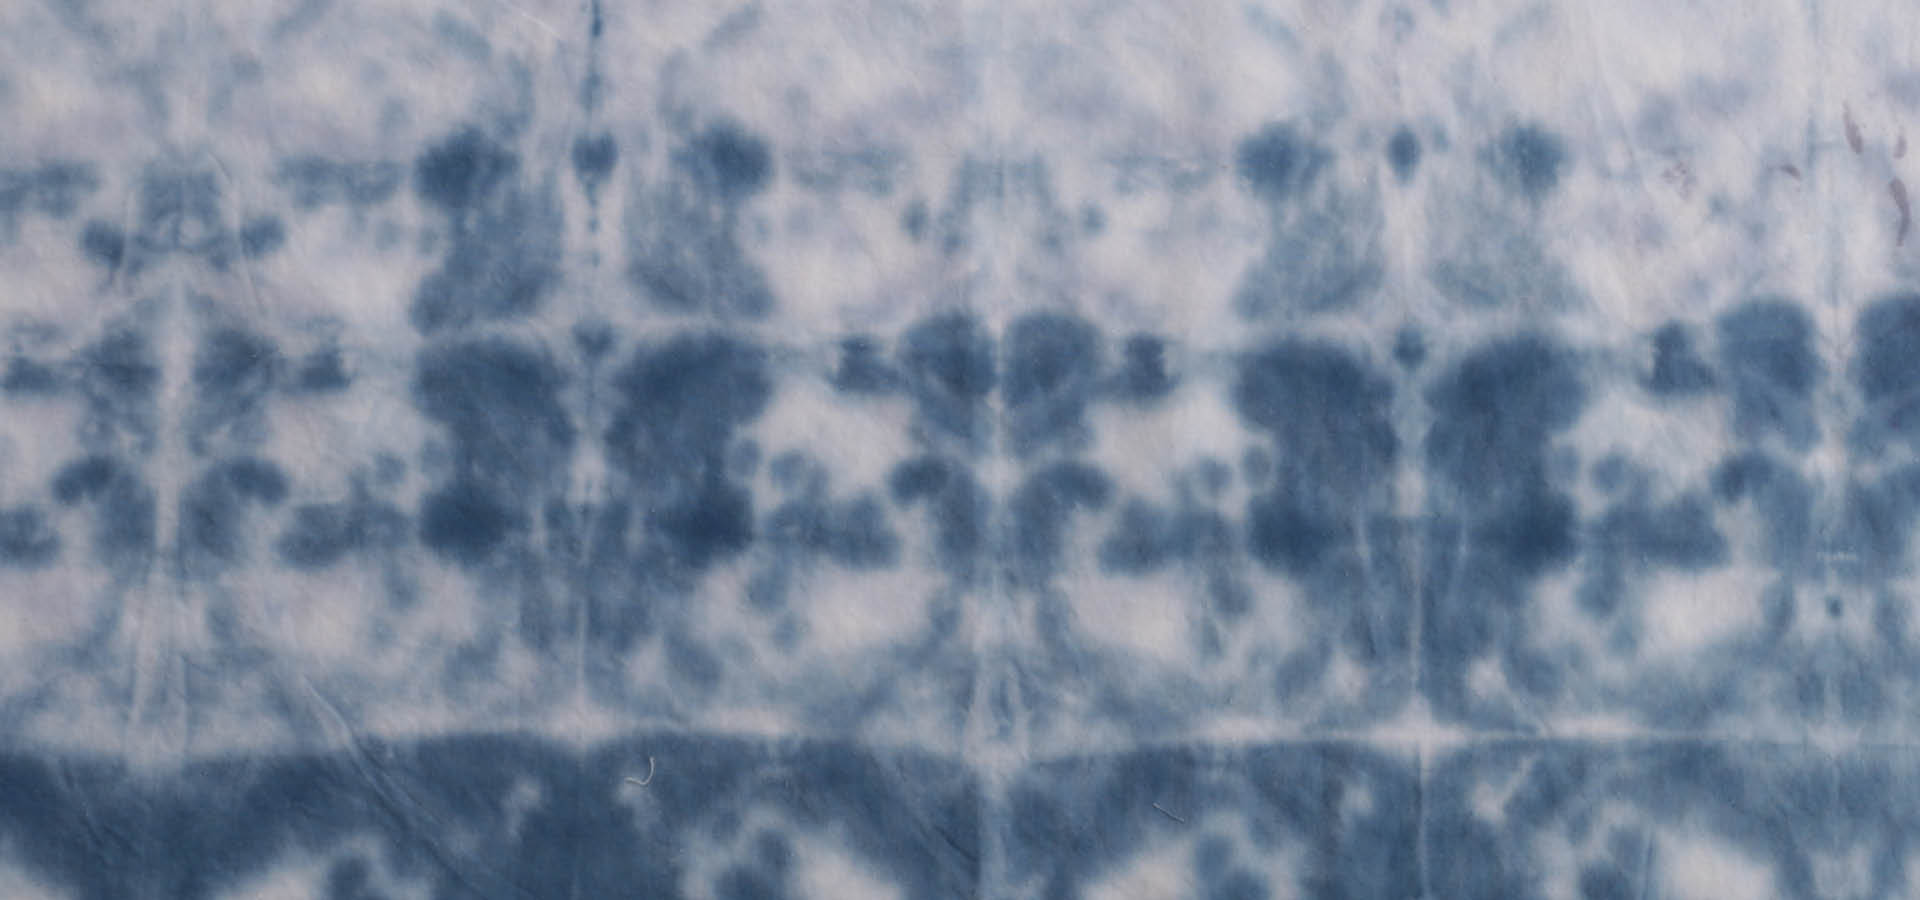
Itajime Shibori
For a more random pattern, try Itajime. It will create a distinct look based on the shape the fabric is held in.
Materials
Directions:
- Fold the cloth like an accordion and secure it between two pieces of wood, in any shape that you would like.
- Hold together with clamps.
- Dye.
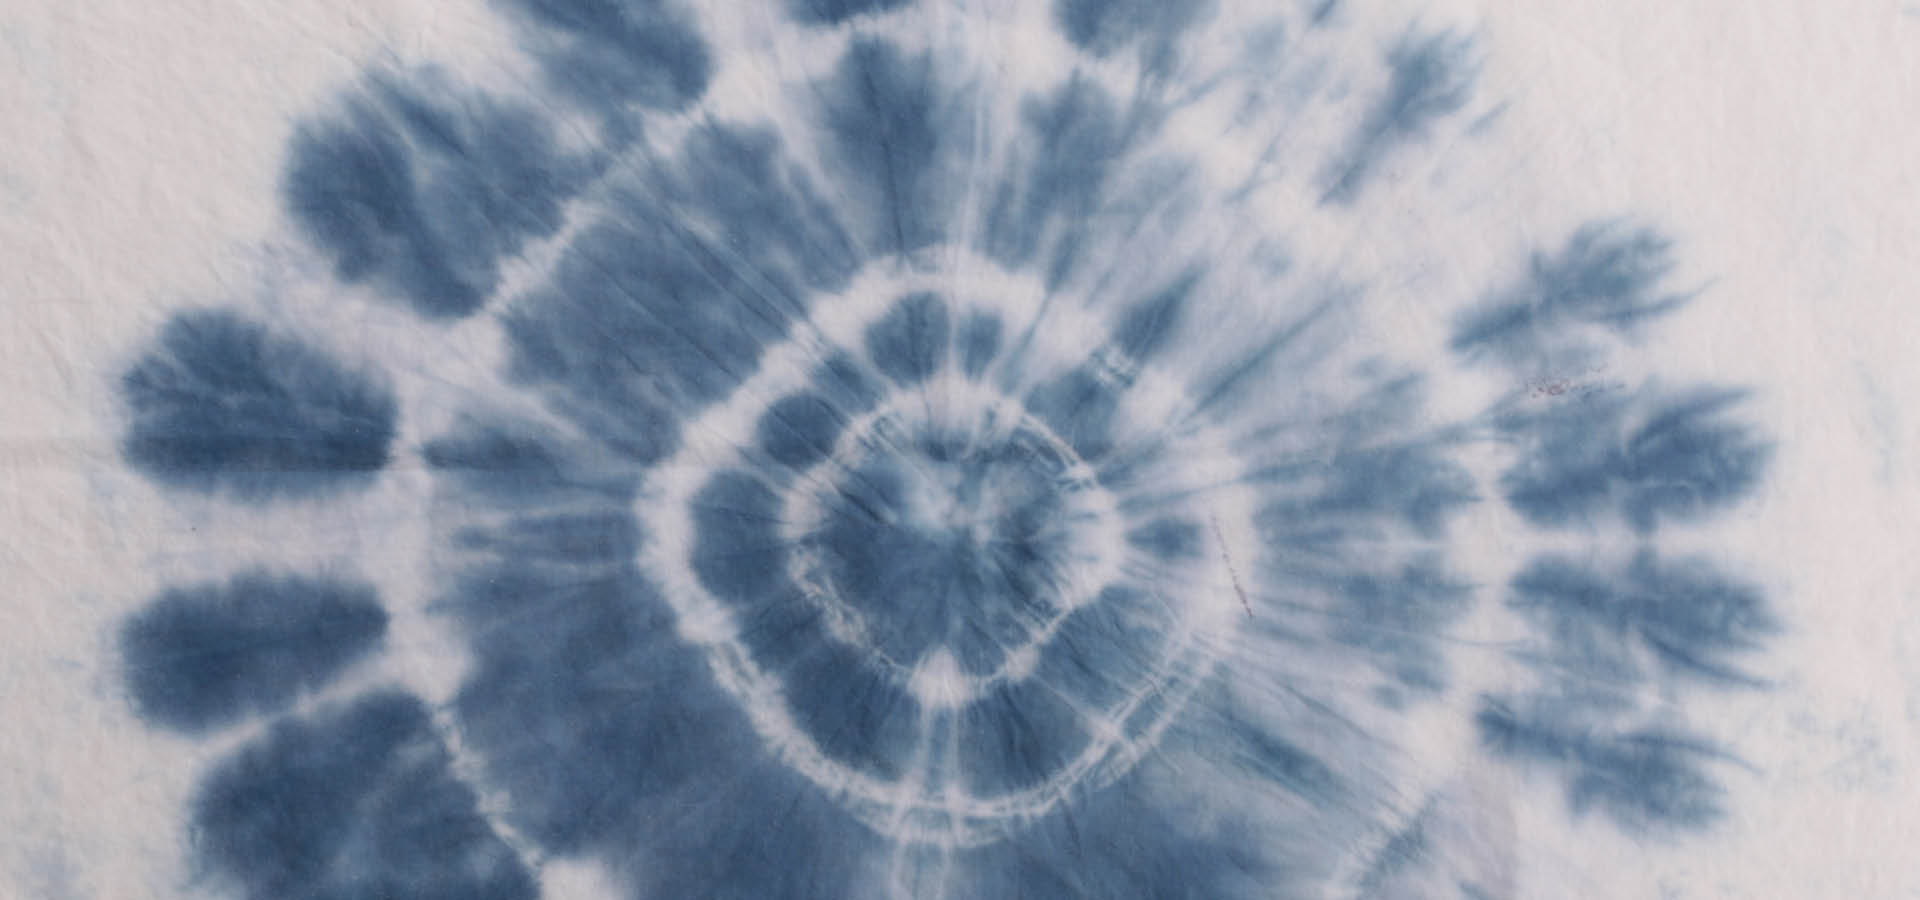
Kanoko Shibori
Another way to achieve a more random pattern is with Kanoko. It will also create a pattern based on the way the fabric is secured.
Materials
Directions:
- The most recognizable tie-dye pattern.
- Fold random sections of fabric and secure with a rubber band. The amount of color that is transferred will depend on how tightly the fabric is bound.
- When finished securing the sections, start the dyeing process.
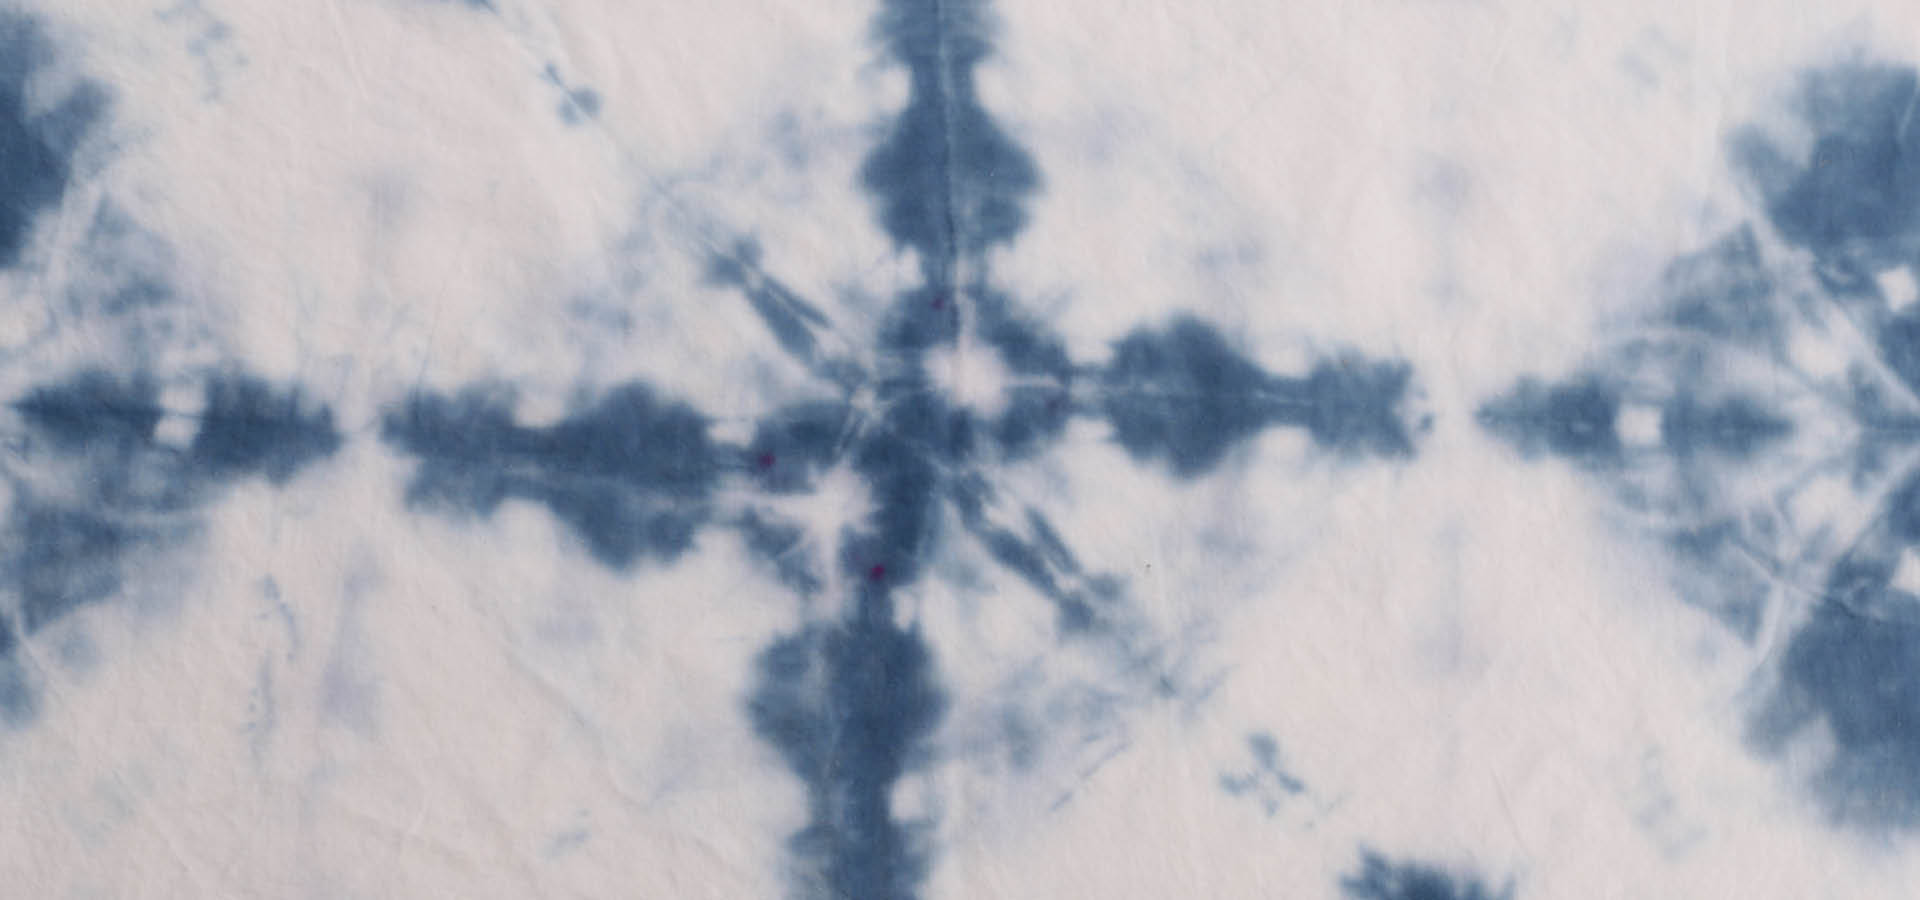
Kumo Shibori
To see a distinct, spider-like tie-dye design in your fabric, try the Kumo method.
Materials
Directions:
- Pleat or fold the fabric in tight folds, and bind closely together with thin wire or thread.
- Dye.


