Trash to Treasure: Antique Window Shelf
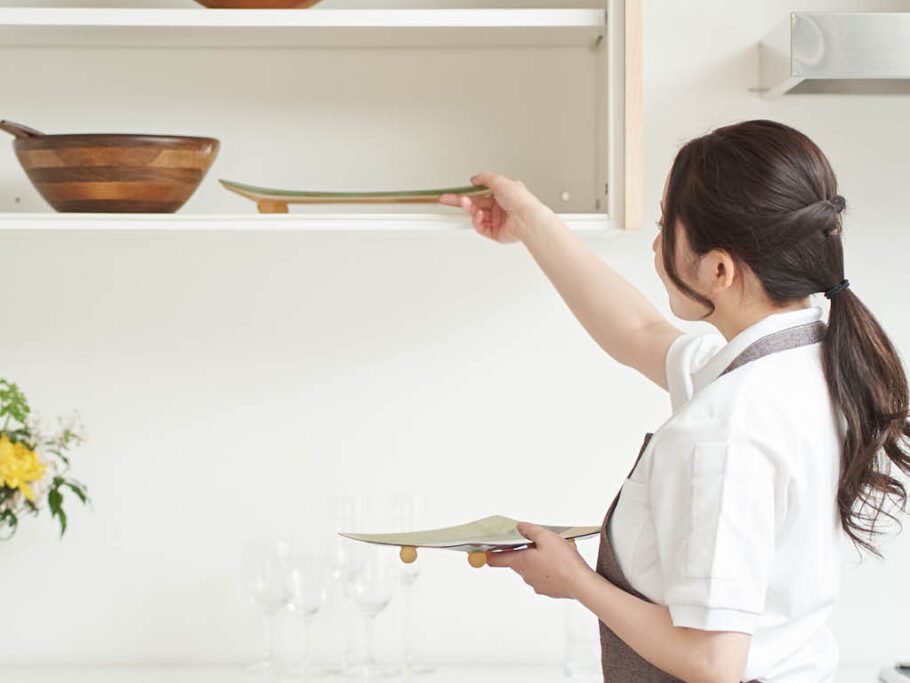
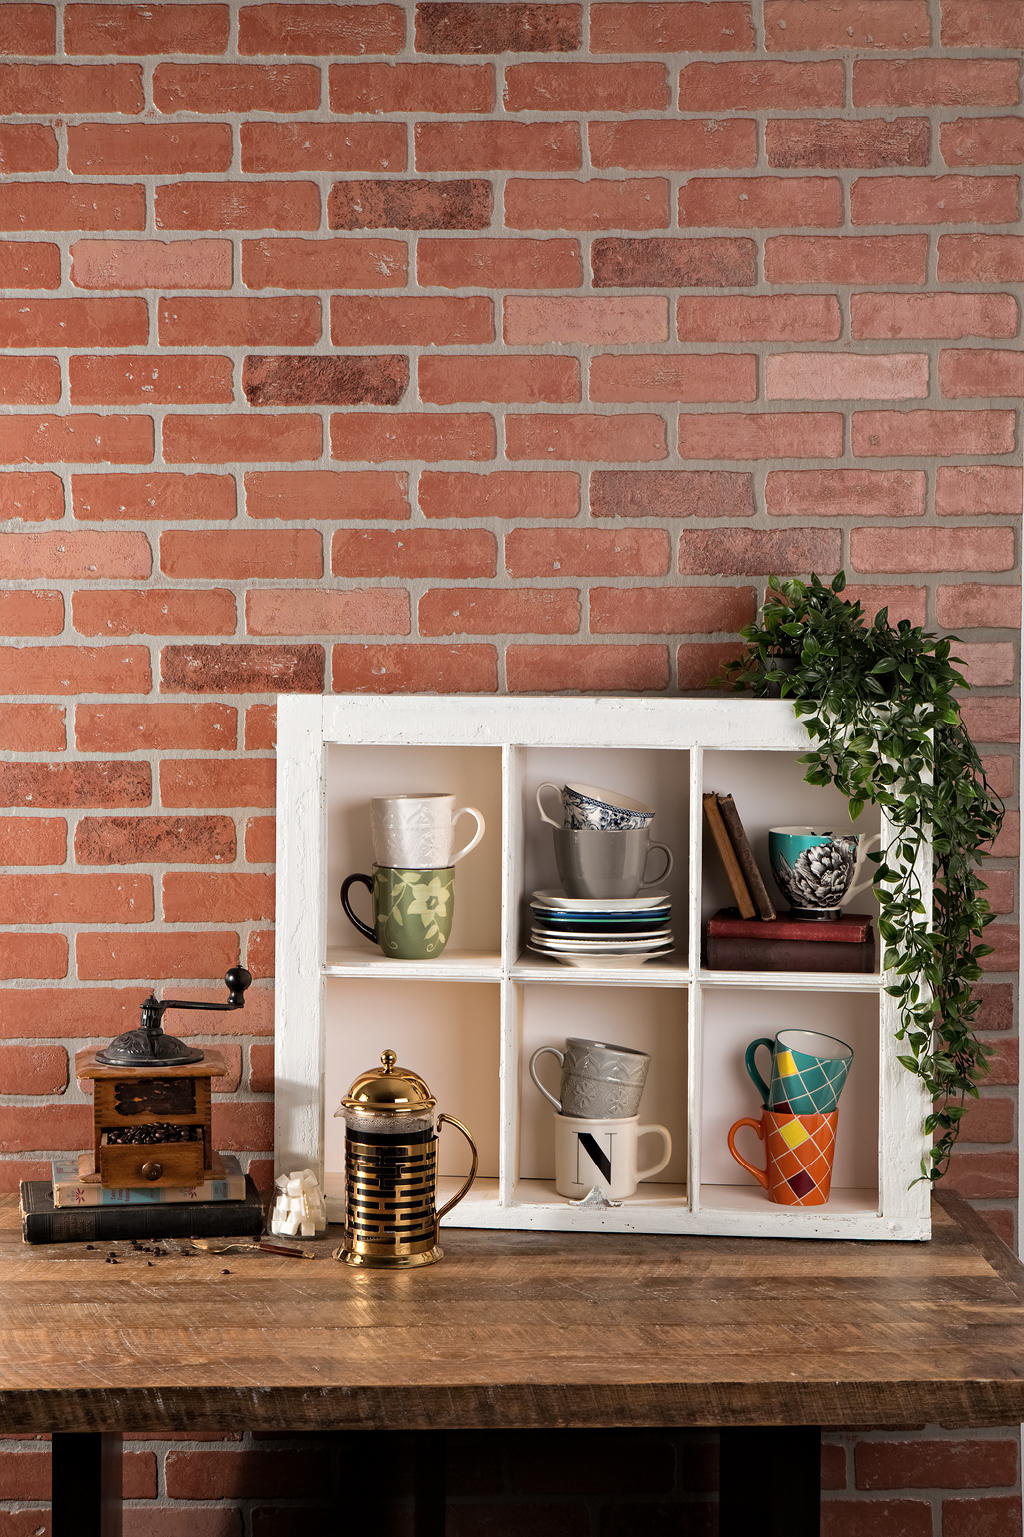
If you’re a fan of antiquing, incorporating your favorite finds into your decor can be a rewarding challenge. There is so much hidden value in antiques, and this updated window-frame craft is all the proof you need—perfect for displaying your favorite kitchen wears and collectibles!
Materials
Directions:
- Wearing a dust mask, sand off the existing paint on the window frame. Wipe with a damp cloth to remove any excess dust. Paint and let dry.
- Measure the outside of your window frame. Measure the width of the top of your frame on the common board. The length (depth) of the wood should be 5 inches. Cut 3 pieces
the same width and length for the top,
middle, and bottom. Cut 2 additional pieces the same width and length for the sides. - Lay the window front side down, and place the 3 pieces of wood horizontally on the bottom, middle, and top of the pane. Lay the two side pieces vertically, and make sure they line up perfectly against the horizontal pieces.
- When everything is aligned, mark off with a pencil. Pick up each piece of wood individually, apply wood glue to the bottom side, and put back in its place. Hold the pieces in place for at least 30 seconds to set.
- Using a 1/8” drill bit, drill holes on the back corners of each piece of wood, where they intersect around the outside. Drill in 4 wood screws to secure the pieces.
- Flip the window so the pane is facing up. Measure the inside of the top and bottom areas for the vertical pieces of wood. Measure on your plywood, making the depth 5”. Cut 4 vertical pieces and paint. Let dry.
- Align the dividers with the window panes, so it appears like a continuation of the window. Use paneling nails to secure the dividers into the shelf from top and bottom. You will not be able to add nails into the top of the bottom shelf from the middle.
- Attach two hanging brackets to the back of the shelf and attach to the wall, making sure the shelf is level.


