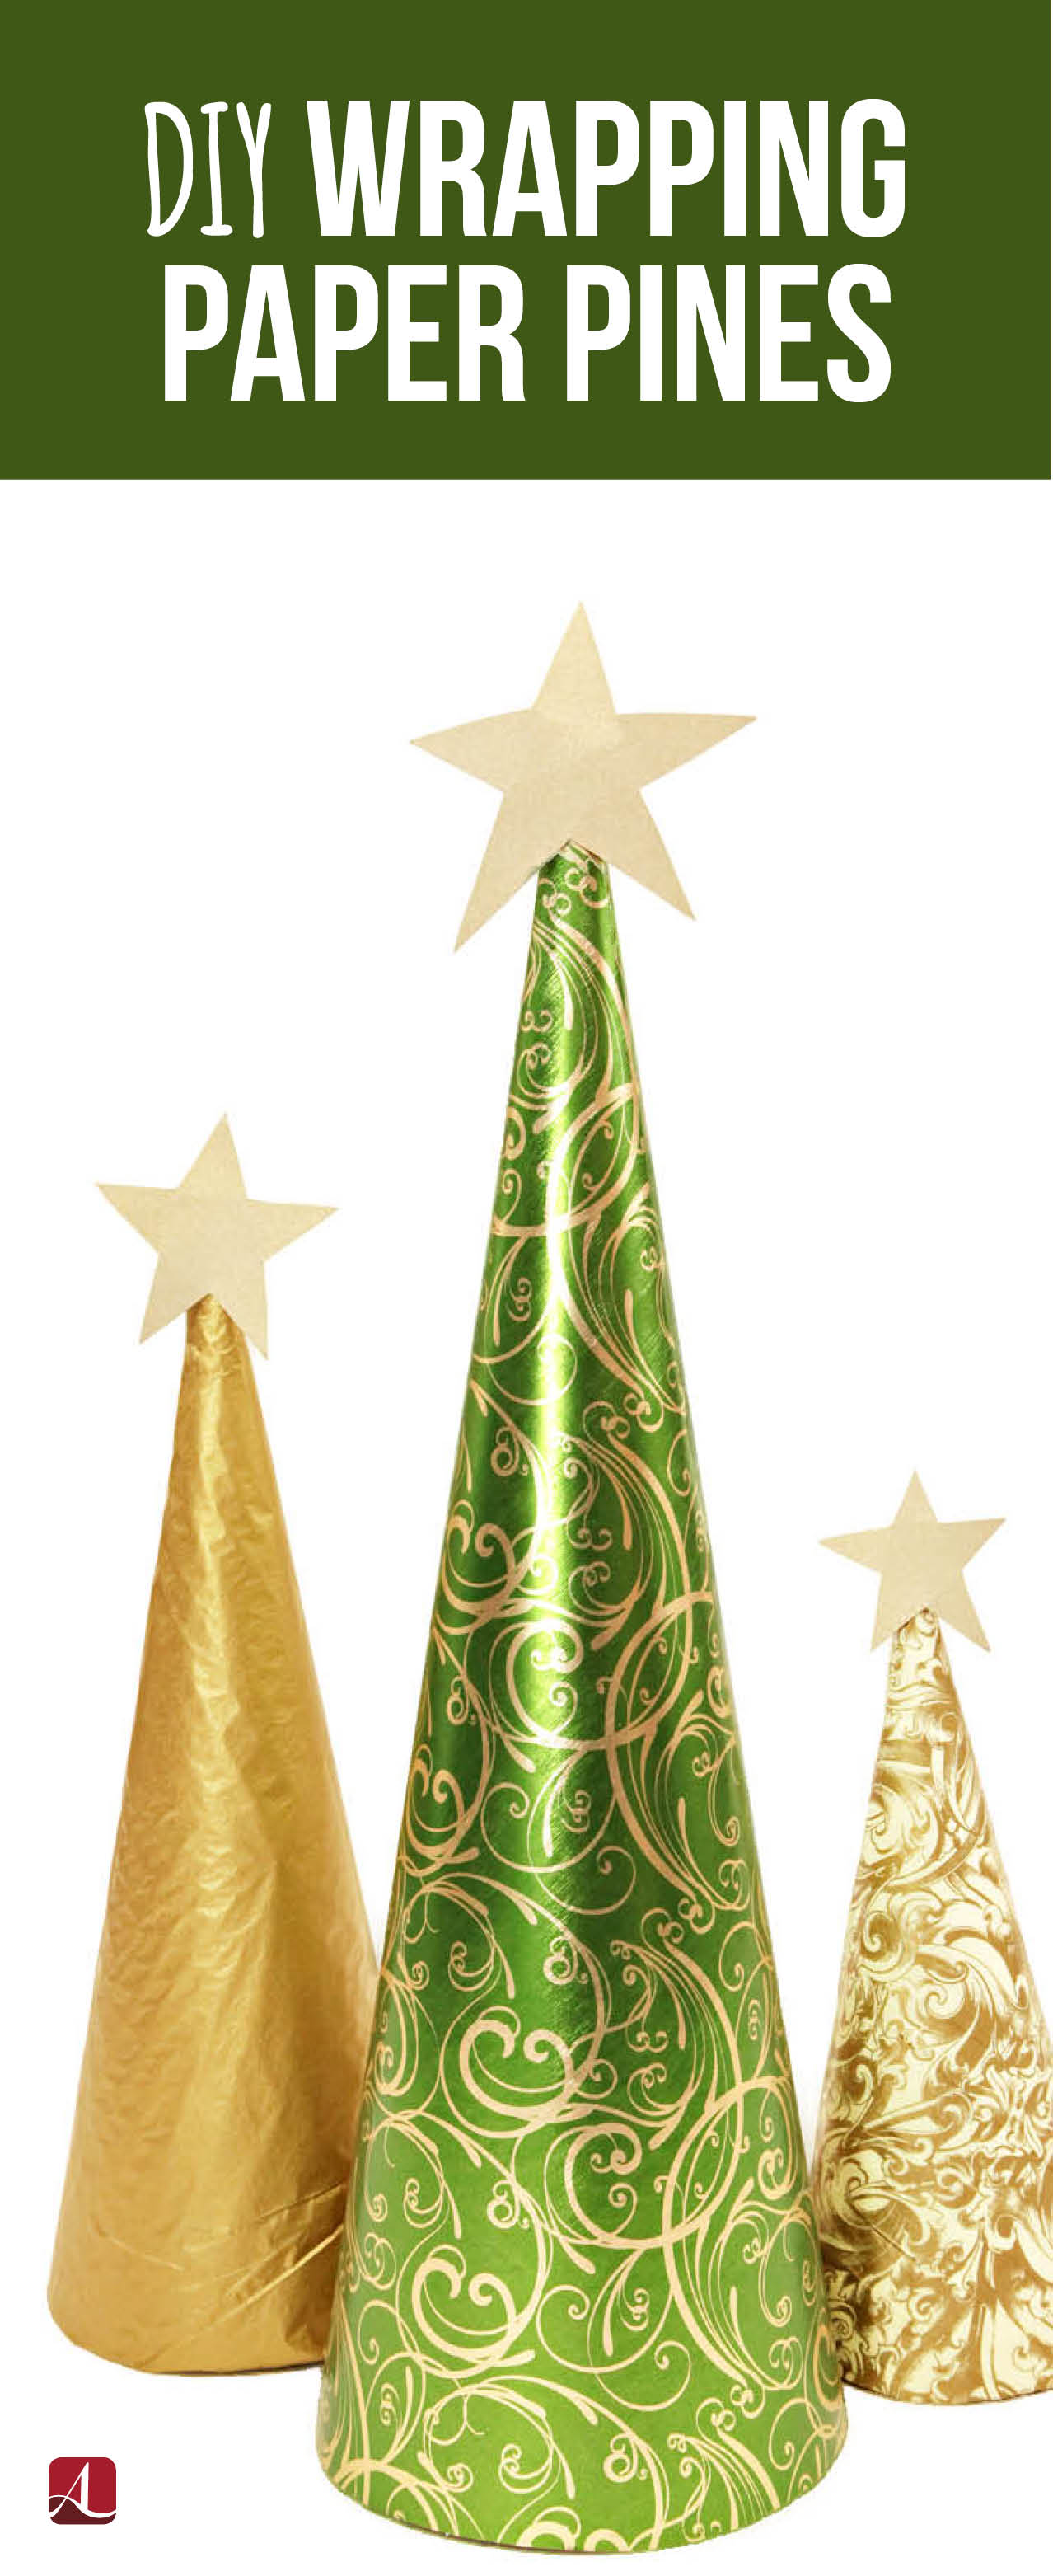
Wrapping Paper Pines
If you’re like most people, you hate to throw away leftover holiday wrapping paper, even when you only have a few awkward-sized pieces left. Use even the last scrap of paper by making these wrapping paper pines. These easy-to-make “trees” are a creative and inexpensive way to decorate for the holidays!
Materials
Directions:
- Lay your poster board or card stock flat on the table; then measure and mark the desired height with a pencil. Cut away the excess.
- Roll the poster board or card stock at an angle to create a cone shape. Use tape to secure tightly in place.
- Measure and cut the wrapping paper according to the height of your base. Leave an extra half-inch of paper for the bottom of your tree. Tape the corner of the wrapping paper or tissue paper to the point of your cone. Hold the paper against the cone for extra support, and roll the paper around the base. Cut a straight seam the length of the tree, and secure the inside seam of the wrapping paper with a glue stick. Fold the extra paper under and attach it with glue inside the cone.
- Use small accents like paper stars or pom-poms to decorate your tree. Make multiple trees of different sizes to display as a holiday decoration or a table centerpiece.


