


The Art of the Gallery Wall
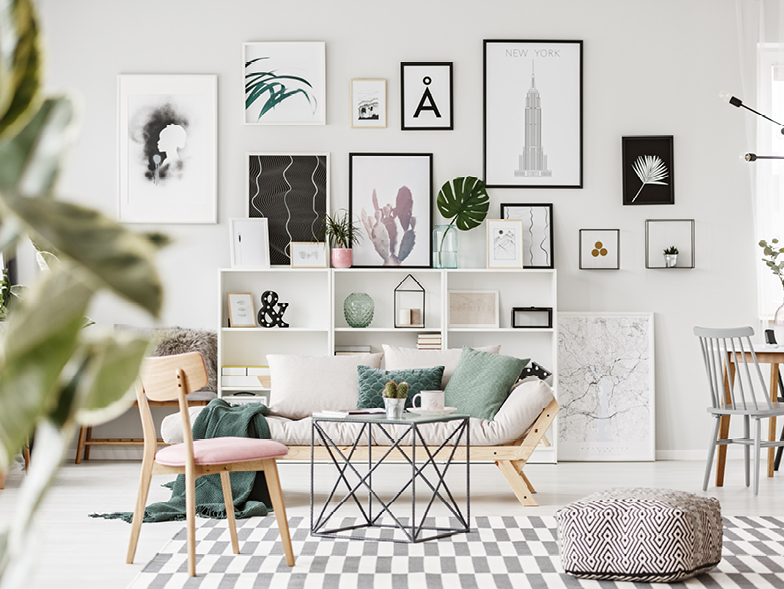
If you want to add a unique look and flair to a space, consider creating a gallery wall. Also called a collage wall, this artistic collection of items can be symmetrical and refined or colorful and whimsical. You can use your space to share memories, express your personality, or make a statement. It’s up to you! The following guide will help you select what to display, suggest ways to configure your arrangement of art and other objects, and explain how to put it together.
Choose and Prep Your Space
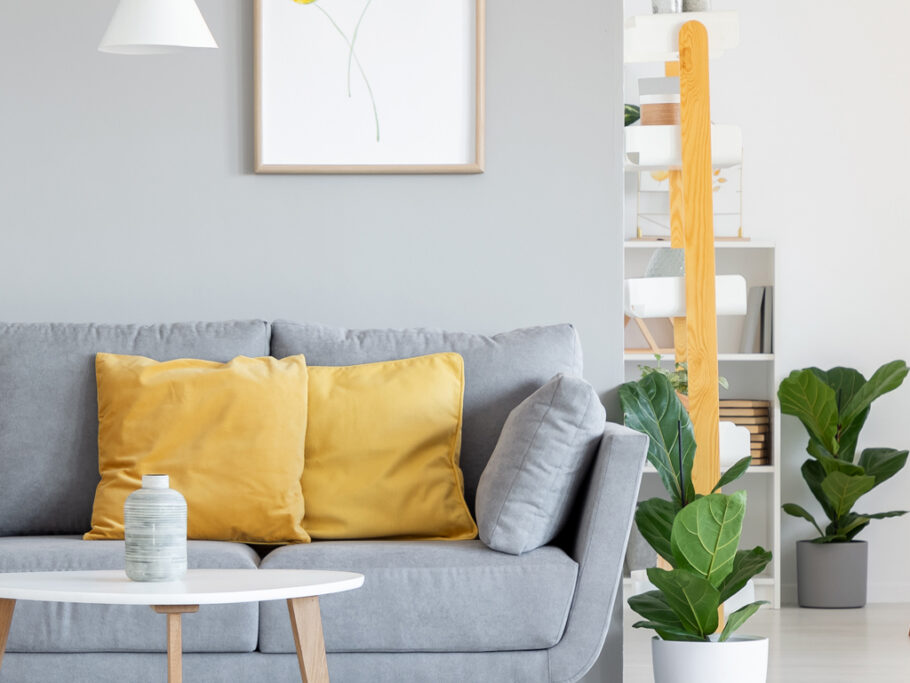
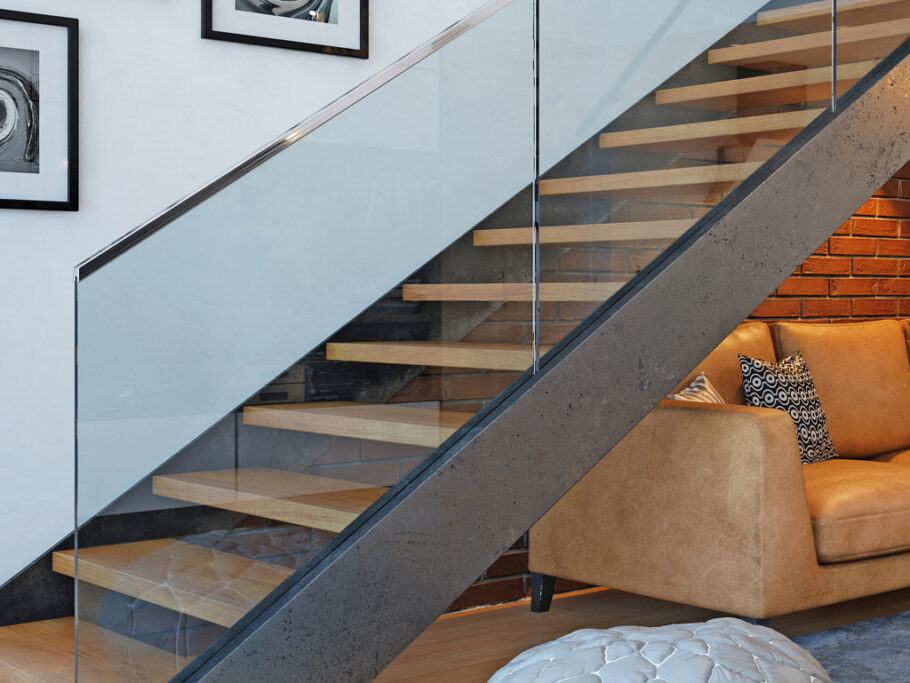
The first step is to find an empty wall. For example, you can hang your grouping of items above the sofa in your living room, in a guest bathroom, or in your home office. Some of your favorite vacation photos might be a good conversation starter for a living room, while family photos could adorn a staircase wall. Once you have picked a spot for your collage wall, clean the surface with a damp rag or paper towel and make any necessary fixes or changes, such as repairing holes or dents and applying a fresh coat of paint.
Pick Your Style
Choose a look for your wall. You could create a symmetrical display, such as a wall decorated with matching frames in a grid pattern, or you could assemble an eclectic collection of artwork and frames in various colors, sizes, and materials. Another option is to prop framed photos and decorative pieces on picture ledges.
Gather Your Materials
There are many ways to gather objects for your project. For instance, you could print family photos or feature some of your mementos. Blogger Lindsay Eidahl of the blog My Creative Days says inexpensive items, such as finds from thrift stores, can be interesting pieces to include. If an object looks a little worn or damaged, a simple repair or a little spray paint might help.
Trace your items onto craft paper,cut out the shapes, and write a description of each object on its cutout. Consider these tips:
- Place the object that will serve as your collage’s focal point at eye level, and plan the rest of your design from there.
- Tape the template for your largest item or centerpiece in the middle of the wall.
- Start your gallery seven to ten inches above your furniture.
- It’s not necessary to complete your wall all at once; you could add to it over time.
Affix the rest of your templates to the wall with painter’s tape. Try these tactics:
- Use a tape measure to help you place each item an equal distance from each other, such as three or six inches apart.
- If you have trouble reaching higher points on your wall, use a step stool.
- As you lay your templates on the wall, step back every now and then to evaluate your design
Once you’re settled on your wall’s layout, hang your objects. Follow these guidelines:
- Use the templates as a guide for where to put your items.
- Decide whether you’ll use a hammer and nails, Command Strips, or drywall anchors and screws.
- If you’re using picture wire, hangers, or Command Strips, add them to the backs of your objects. (If using Command Strips, follow the instructions on the packaging to affix your items.)
- Hammer nails into studs for heavier items. You can locate the studs behind your wall with a stud finder.
- For spots without studs, use a drill or a screwdriver to install drywall anchors and screws to hang heavier items.
- Try this helpful hack for marking where a nail should go with a picture hanger: dab toothpaste on the hanger where the nail goes, gently press the object against its template on the wall, insert the nail into the picture hanger, hammer the nail at a 45-degree angle into the mark the toothpaste left, and remove the paper from the wall.
- Once everything is on the wall, use a level to ensure they are hung evenly.
- If hanging frames, put wall putty on the back corners of each frame to help them stay in place. Once you complete your first gallery wall, you might be tempted to create more. Every empty wall is a blank canvas for you to make your own.