


A Guide to Postholiday Cleanup
There are two camps of people after the holidays. On January 2, one camp makes a mad dash to tear down the tree and put away every trace of the season. The other camp dreads post-holiday packing and waits until the first buds of spring to arrive to do so.
No matter which camp you fall into, cleaning up after the holidays can be a time-consuming and downright frustrating process. And it’s a reminder that one of the most joyous times of year has come and gone. However, it doesn’t have to be such a dreaded chore if you plan now.
Divide and Conquer
Depending on the size of your home and the number of decorations you have, dismantling your decor can feel overwhelming. You can make the process easier by breaking it down into steps. Separate indoor and outdoor tasks into multiple days, or spread them out over two different weekends. Set aside specific days for each task, such as taking down all outdoor decor, putting away the tree and ornaments, and deepcleaning surfaces and shared spaces. There’s a lot to do, but packing up and cleaning will be a lot more manageable if you split it up.
Here is an example of some of the tasks you’ll need to complete and how you can divide them throughout the week:
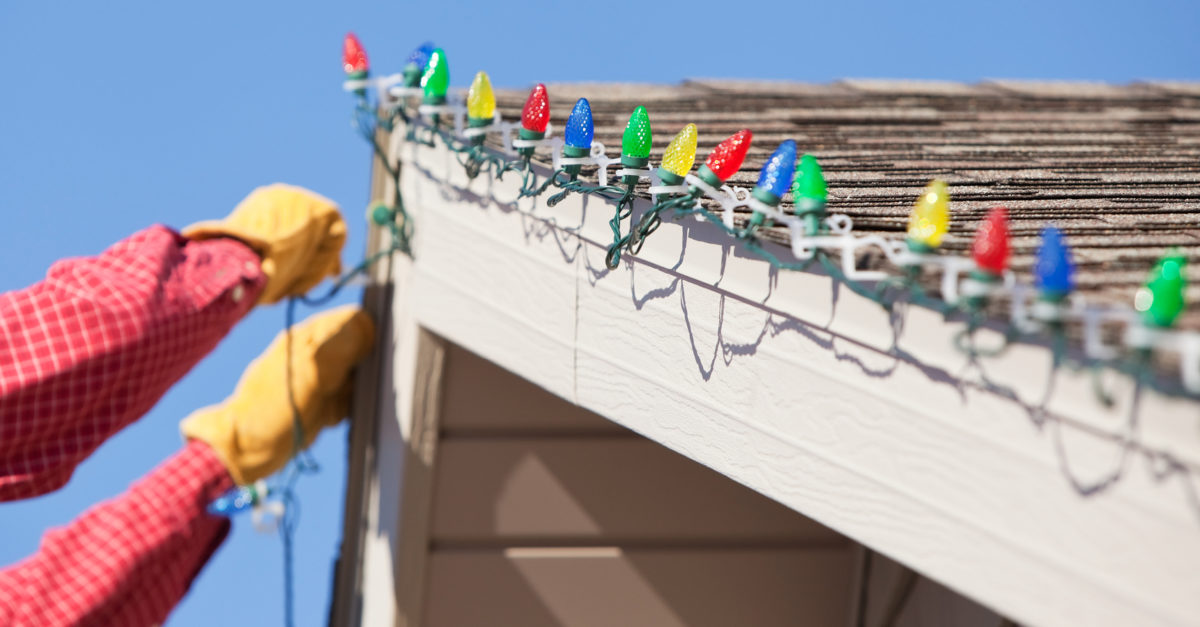
- SUNDAY Put away outdoor lights and decor.
- MONDAY Take down the tree, if you have one, and store away its ornaments.
- TUESDAY Pack up indoor decor.
- WEDNESDAY Vacuum and deep-clean carpets and other soft surfaces.
- THURSDAY Wash linens, and clean guest areas.
- FRIDAY Take a break.
- SATURDAY Deep-clean kitchen floors, countertops, and appliances.
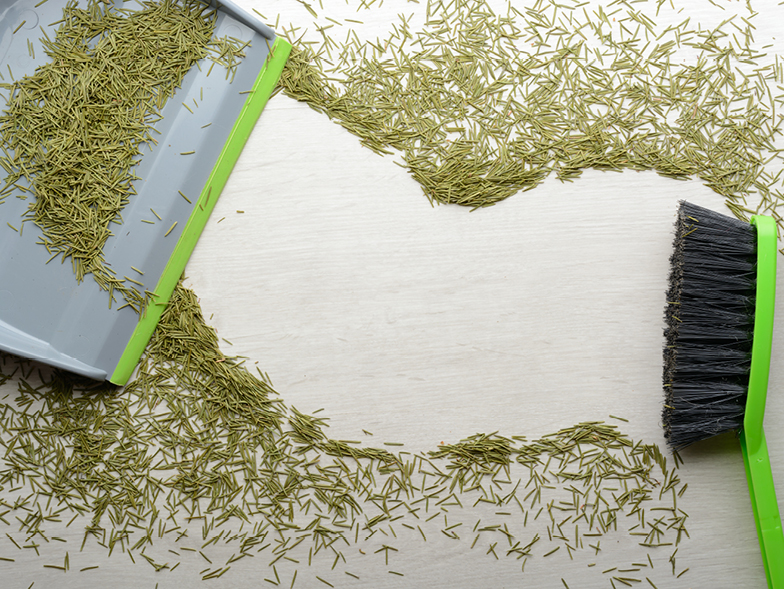
Whether you choose to use this schedule or create your own, be strategic. For example, avoid vacuuming before taking your tree down, as you’ll likely have to vacuum again to clean up stray pine needles. Plan to deep-clean surfaces from top to bottom, particularly in your kitchen. Wait to sweep and mop until after you’ve cleaned your countertops and appliances in case loose dirt and debris fall onto the floor.
Smart Storage Solutions
Resist the temptation to throw your decor into boxes and bins at random. Clear storage bins can be useful, as you’ll be able to see the bins’ contents more easily. However, you could also opt for color-coded bins, like red for lights, blue for fragile decor, and green for artificial trees and ornaments. Be mindful of the placement of items in boxes and bins, keeping heavy items toward the bottom and fragile items on top, similar to how you’d pack a grocery bag.
Make packing easier by investing in organizational tools made specifically for storing your holiday decor. Websites like Amazon and Bed Bath & Beyond sell storage solutions for nearly every type of decor, including zip-up tree bags with wheels, water-resistant garland bags, cylindrical wrapping-paper bags, and compartmentalized boxes for fragile ornaments. These specialized bags make storage easier while keeping your items safe from water and mold damage, especially if you are storing them in a dark space that’s prone to moisture like a basement or attic.
If you don’t want to purchase new storage solutions, you can create your own from common household items. For example, egg cartons make great holders for small, fragile ornaments; hangers can help keep strings of lights tightly wrapped and prevent tangled strands; and wreaths and other hanging decor can be stored in plastic or fabric garment bags to keep them fresh and protect them from dust buildup.
Deep-Cleaning
Once your decorations are put away, it’s time to tidy up. If you hosted guests over the holidays, you’ll want to give your guest rooms and common areas a little extra attention.
Start with the most frequently used rooms, like the kitchen, bathrooms, guest bedroom, and living areas. Use a duster with an extension rod to wipe the tops of fan blades and ceiling corners. Work your way down to the countertops, tables, and other hard surfaces. Use a microfiber cloth and multipurpose spray to wipe away dust and grime. Give your floors some TLC by vacuuming or sweeping, and be sure to mop hardwood and tile floors with a disinfecting solution.
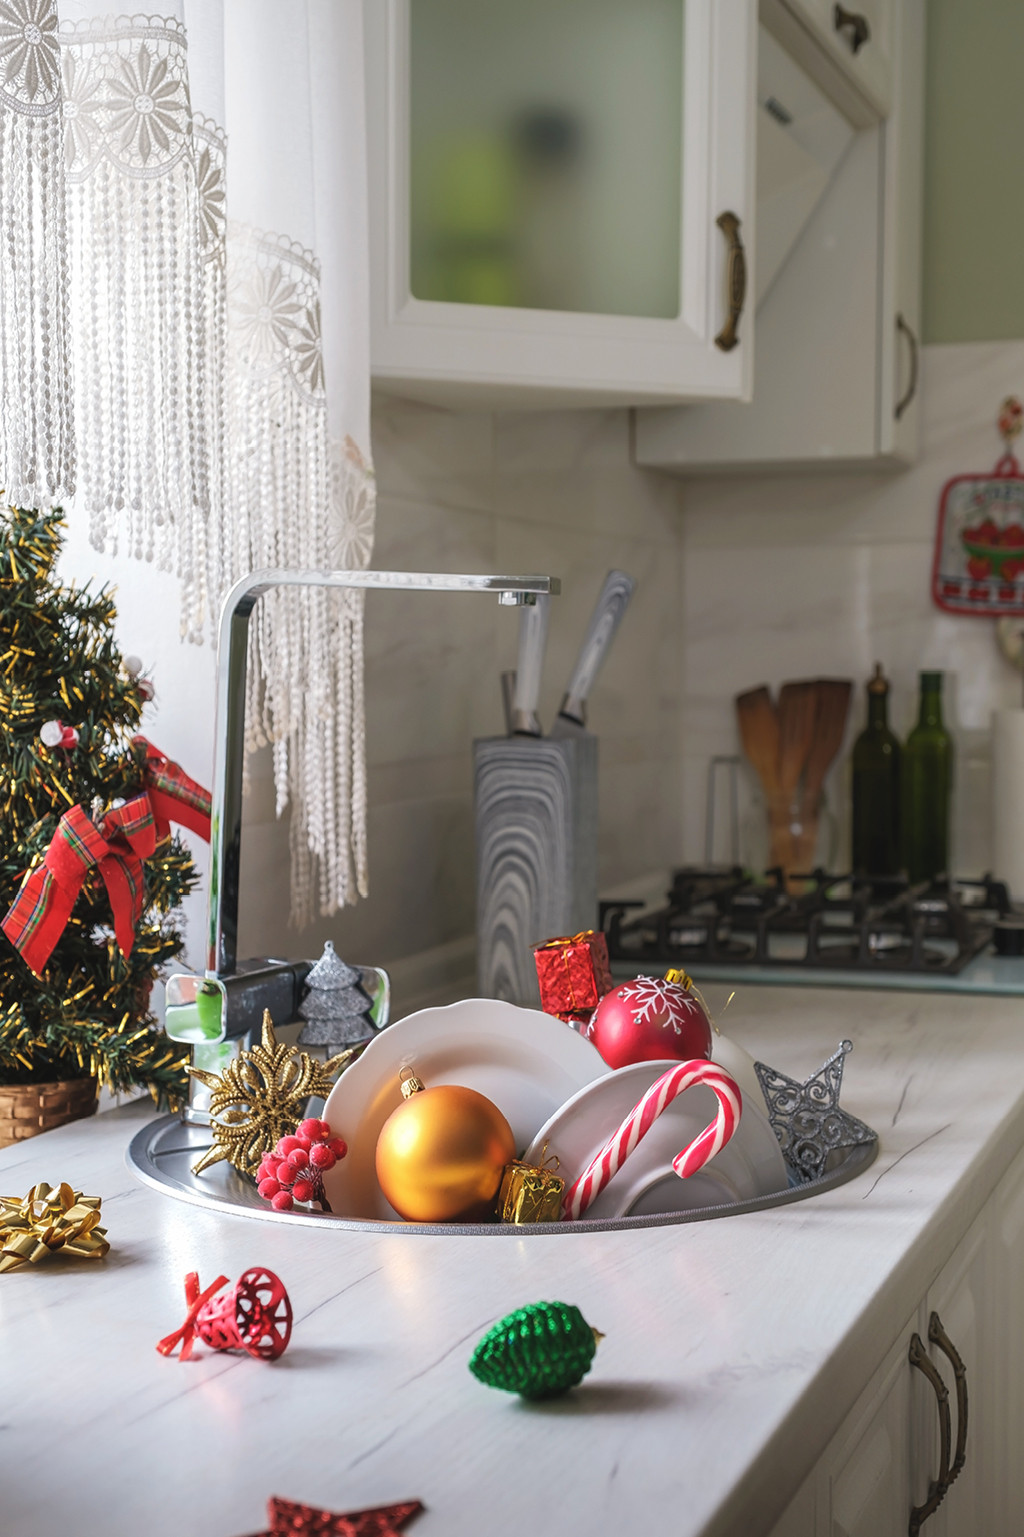
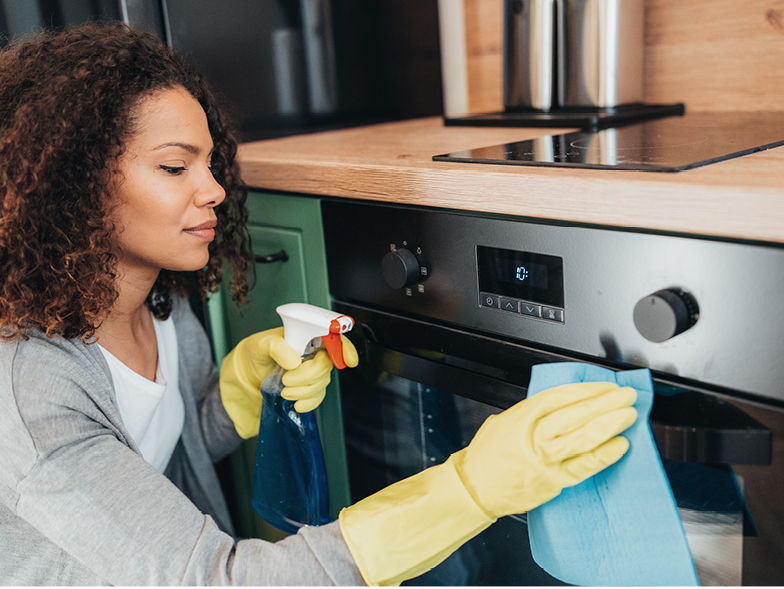
You should also deep-clean your microwave, oven, and sink—especially if they were heavily used over the holidays. Here’s how to make these appliances and fixtures shine like new.
Microwave:
Heat a bowl of lemon water in your microwave for a few minutes, and then let it sit to allow steam to build up inside. Be careful when removing the bowl, as it will be hot. Remove the bowl and turntable from your microwave, and wash the turntable with soap and water. Wipe down the inside of the microwave with a damp paper towel or sponge. Cakedon food and dirt should come off easily from the steam, and it will also smell wonderful thanks to the lemon.
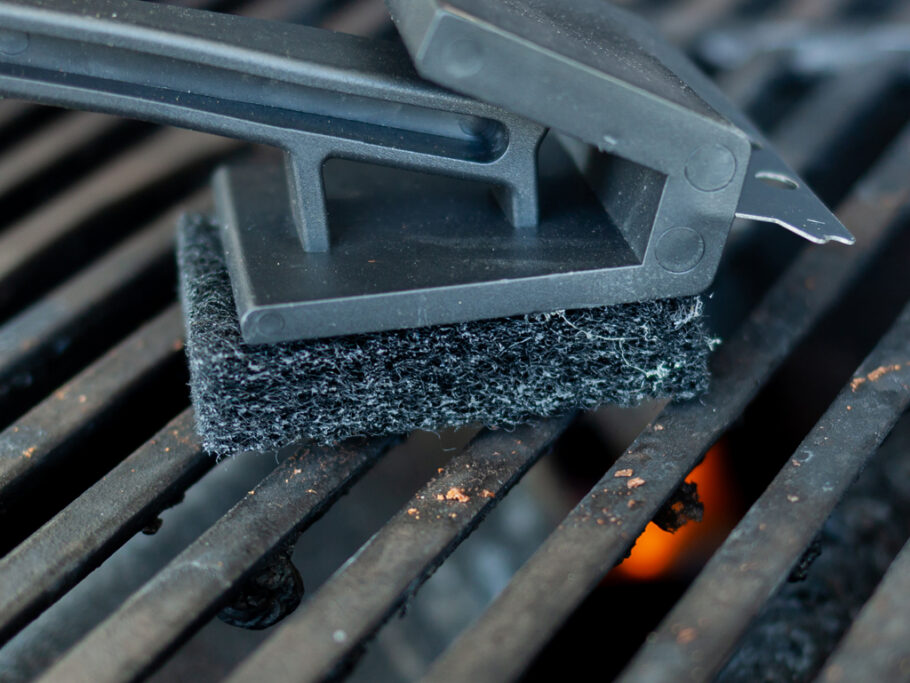
Oven:
First, use a vacuum attachment to remove any visible crumbs and food residue. Remove the grates, and use a bristle brush to scrub away stuck-on grease and food. Wash them with warm, soapy water, and allow them to dry completely. Make a thick paste of baking soda and water, and apply it to the inside of the oven. Allow the mixture to sit for at least fifteen minutes, and then wipe it away with a damp paper towel or sponge. Wipe down the oven again with warm, soapy water, and dry thoroughly.
Sink:
Spray the surface of your sink and faucet with a cleaner of your choice, and allow it to sit for a few minutes. Use a soft-bristle brush to scrub away any stubborn dirt or stains, and rinse with warm water. Don’t forget to scrub your soap dispenser and holder with your cleaning tools. If your sink is stainless steel, you can also use a mixture of baking soda and vinegar to disinfect and deodorize the sink and drain. Whether you’re the first family on the block to take down their lights or prefer to take things slow, the tips in this guide will make post-holiday packing and cleaning a lot more manageable.