DIY Plant Markers
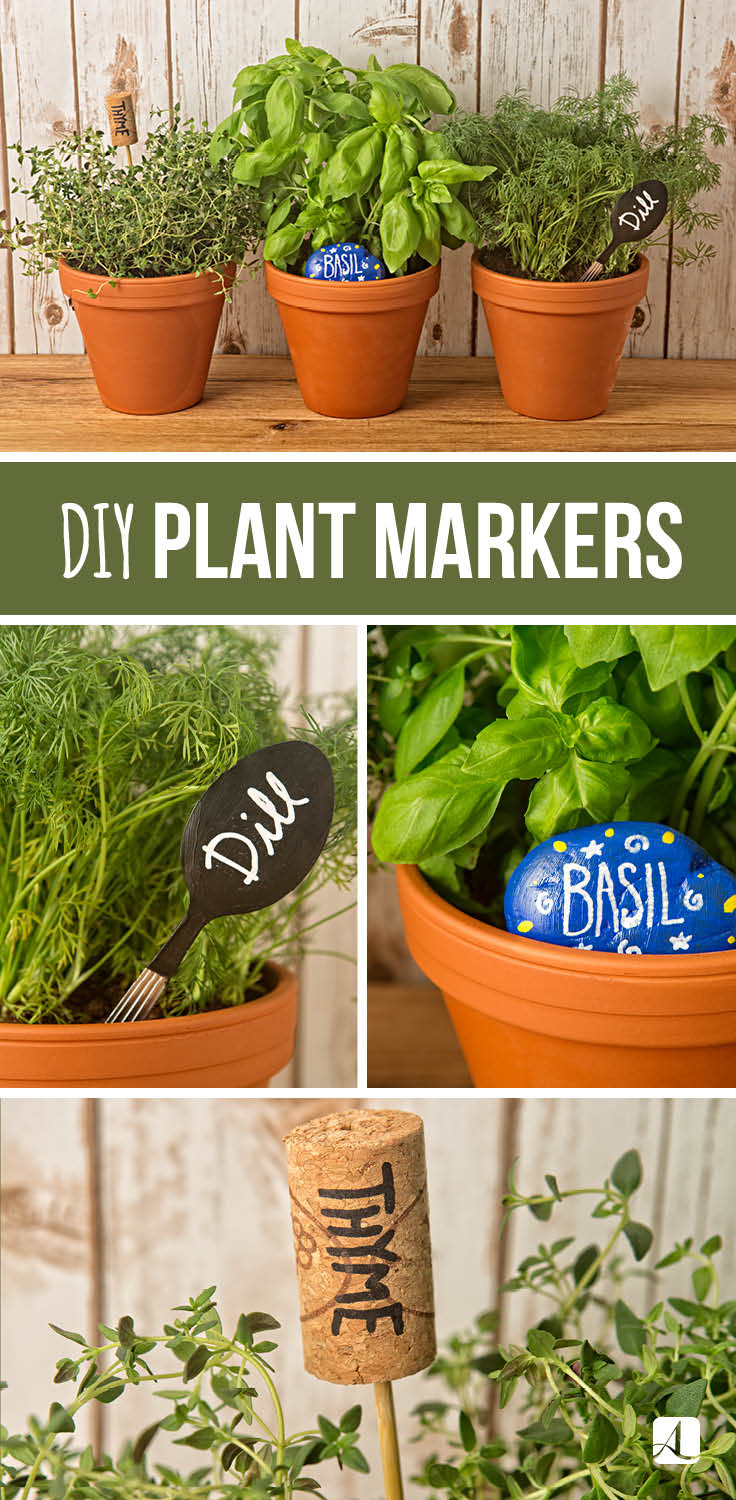
Instead of using the boring plant tags that come with your veggies or herbs, try making a more appealing plant marker that goes with your style! Here are three ways you can use everyday materials to spice up your plant’s environment.
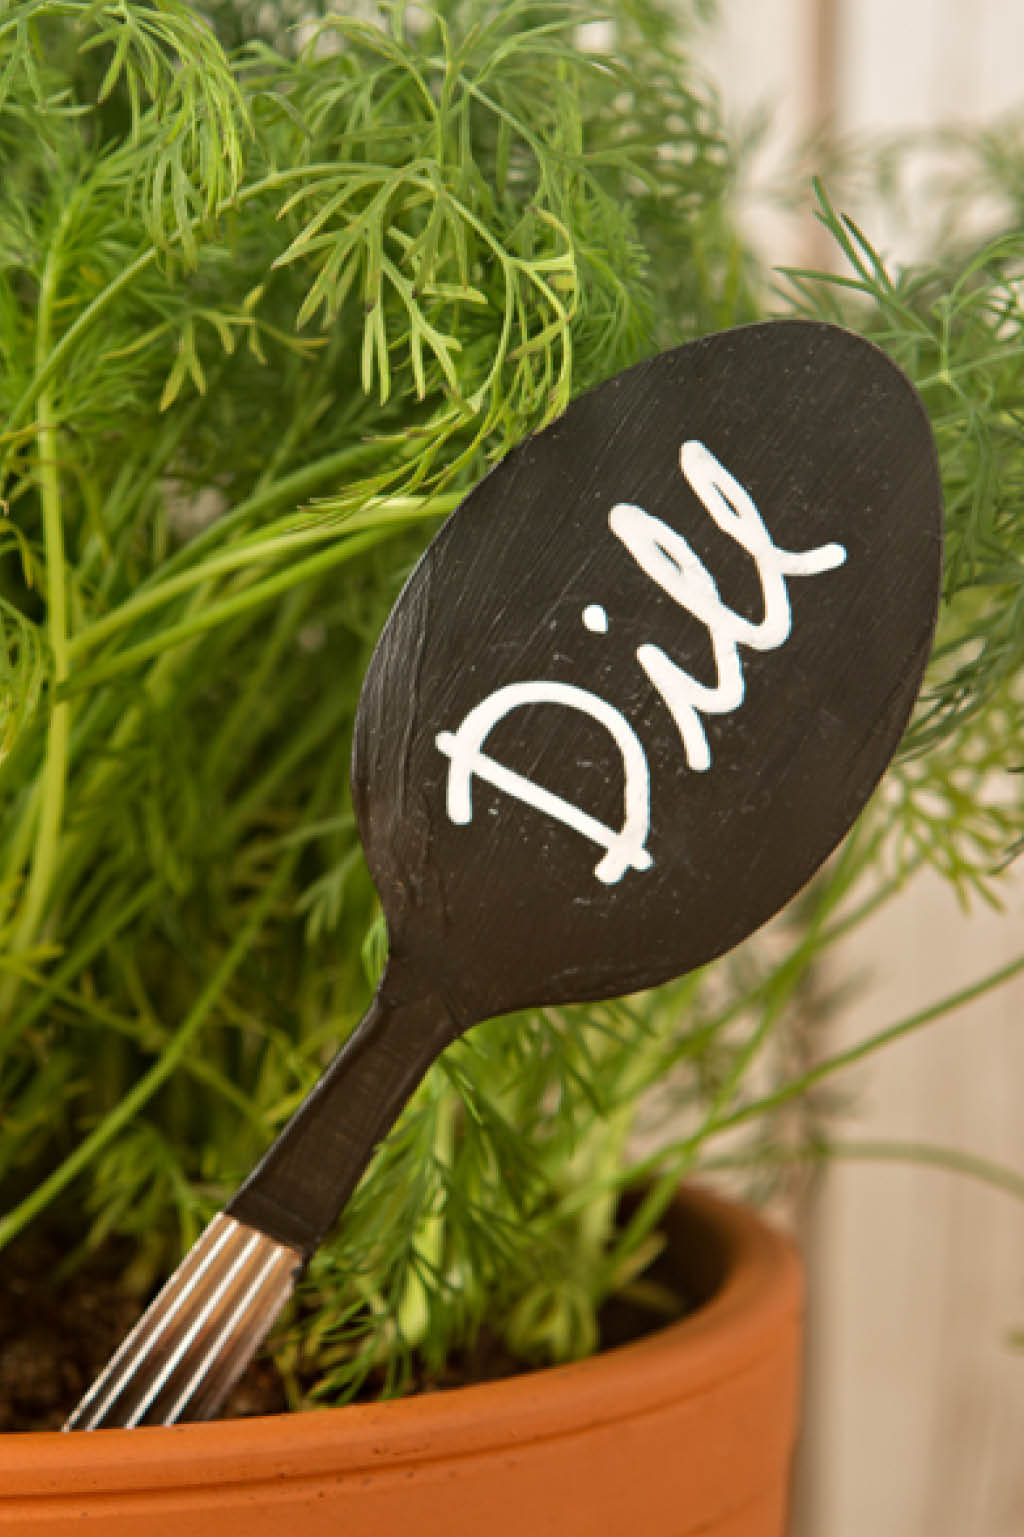
For the foodie: spoon markers
Old metal spoons can make great plant tags with just a little prep.
Simply place each spoon upside down between two small pieces of wood and strike with a rubber mallet or hammer until the spoon is flattened. Then apply chalkboard paint. When the paint is dry, you can use chalk to label the spoons and then place them in your garden.
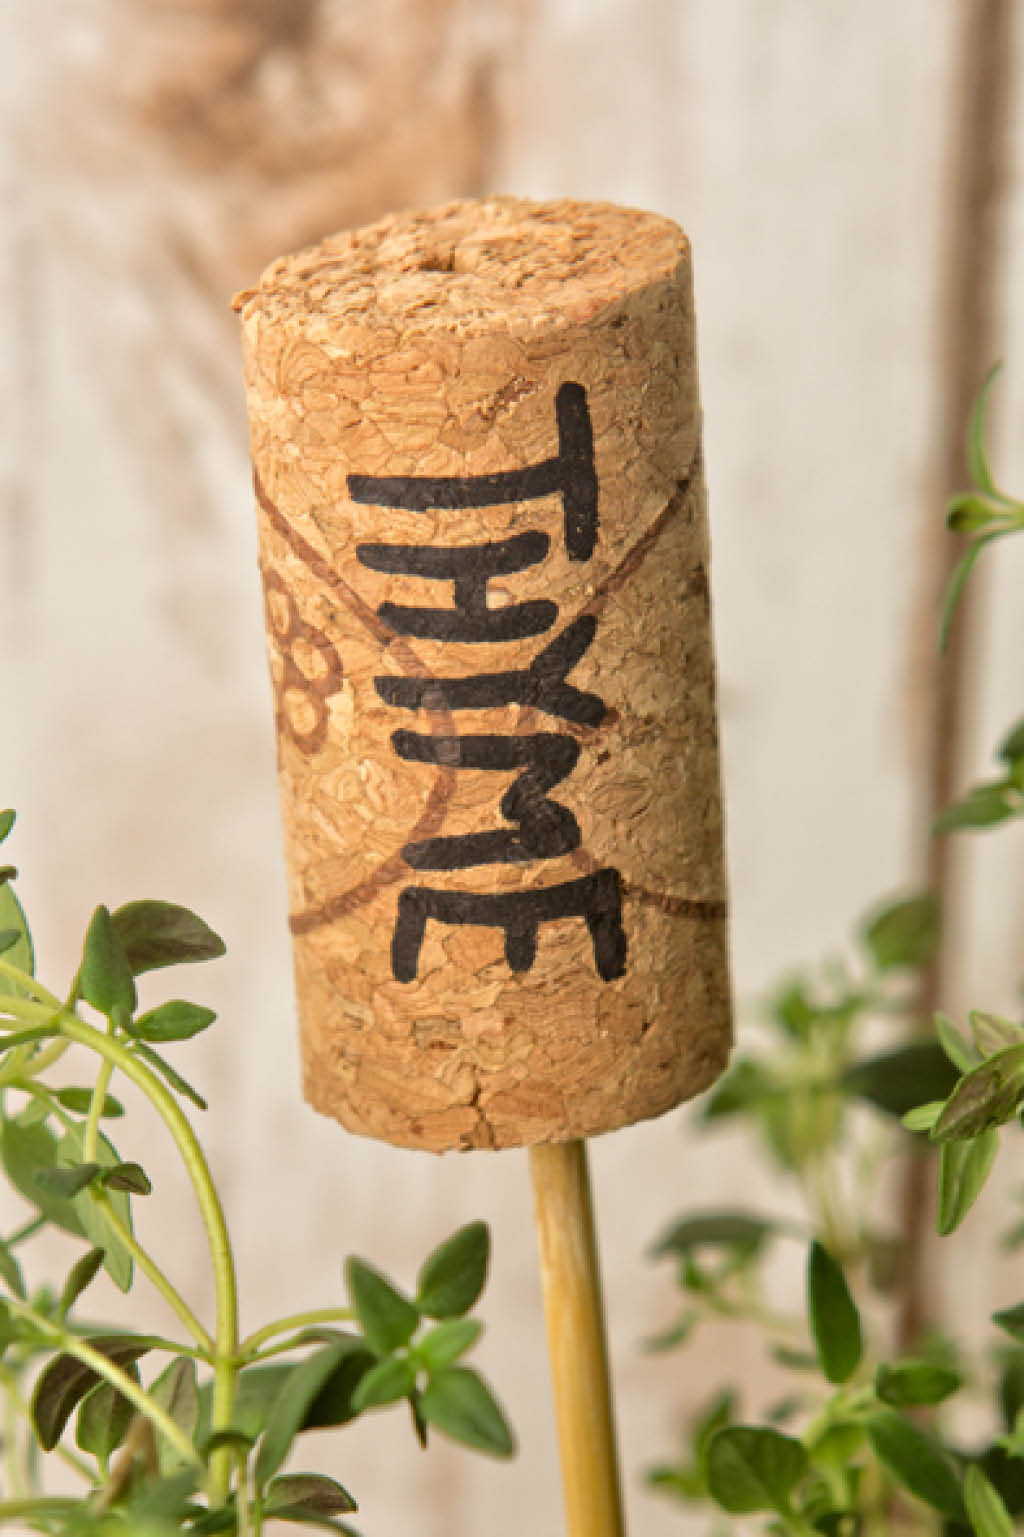
For the wine enthusiast: cork markers
Don’t throw out your corks with your empty bottles of wine. Try this instead:
Write the name of each plant in marker on the sides of your wine corks. Next, use a screwdriver to poke a hole in the bottom of the corks. Note: Make sure not to go all the way through the top. Now push a kebab skewer through the hole of each cork. If you want to add more protection to your plant markers, you can spray them with a clear sealant.
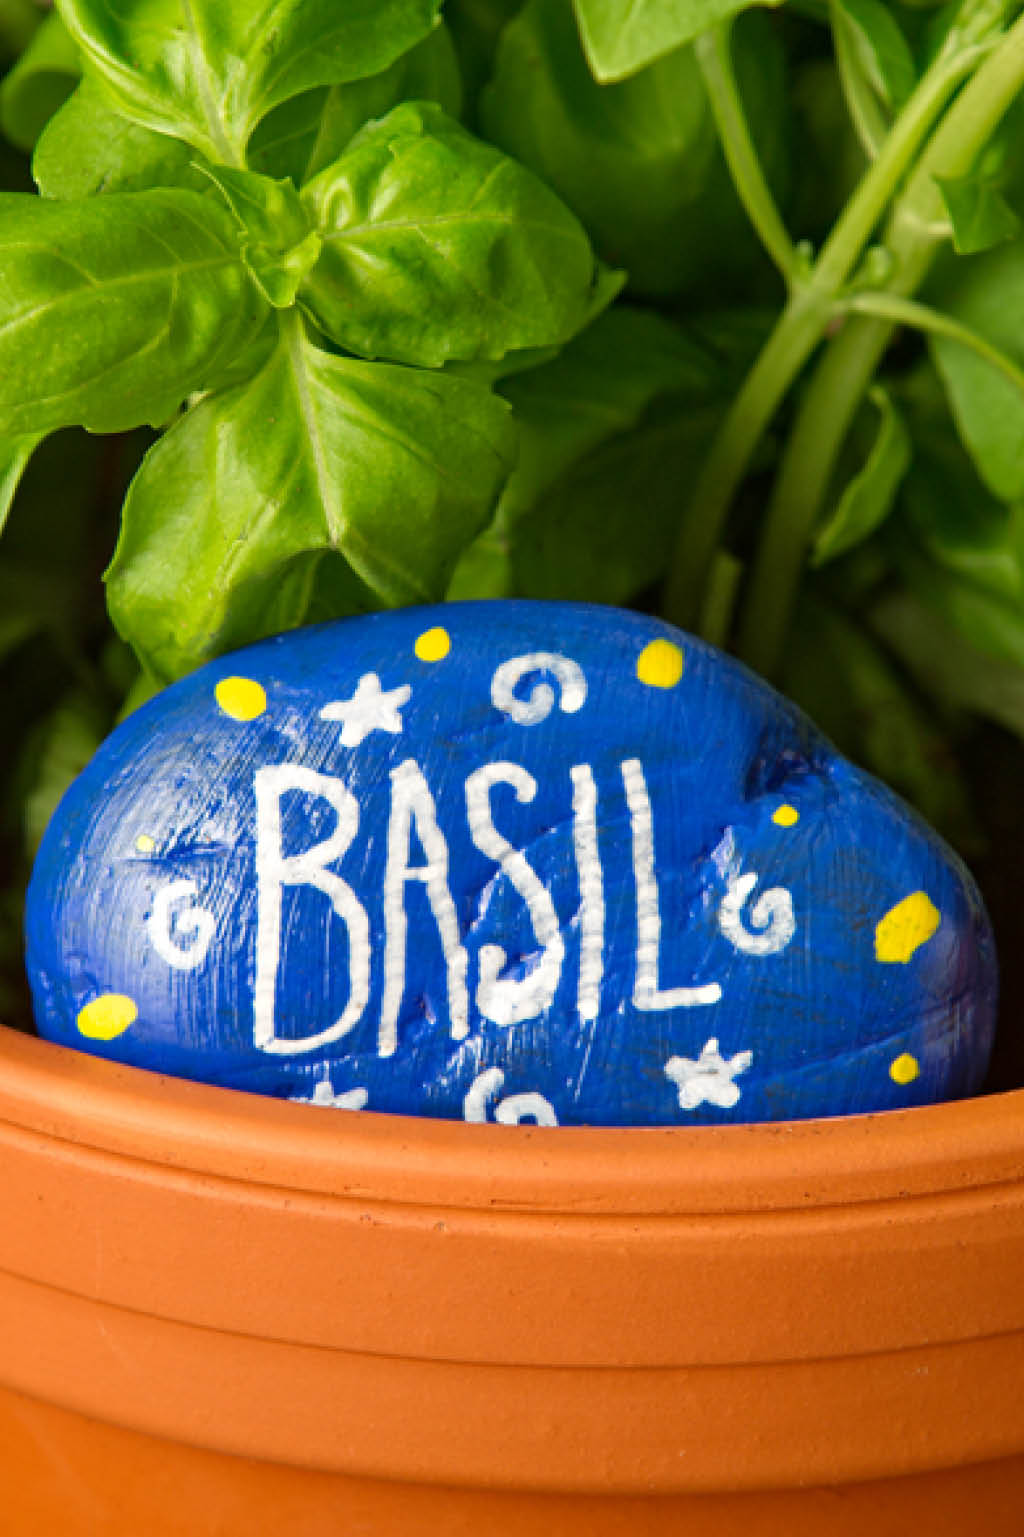
For the nature lover: rock markers
If you’re looking for a unique plant marker, look no further than your yard. Rocks are a versatile option that cost you nothing, except what you use to decorate them. For best results, use the flattest and smoothest rocks that you can find.
If you are looking to add bright colors to your garden, you can paint the tops of your rocks. (You don’t need to paint the bottoms, as those will be in the dirt.) You may need a couple of coats. If you want to go for a more natural look, you can skip this step and simply clean the rocks.
Next, use paint pens to write the names of the plants. You can also add some design elements, such as polka dots or zigzags. After the words and designs have dried, spray pottery sealant on your rocks to protect them from the elements.


