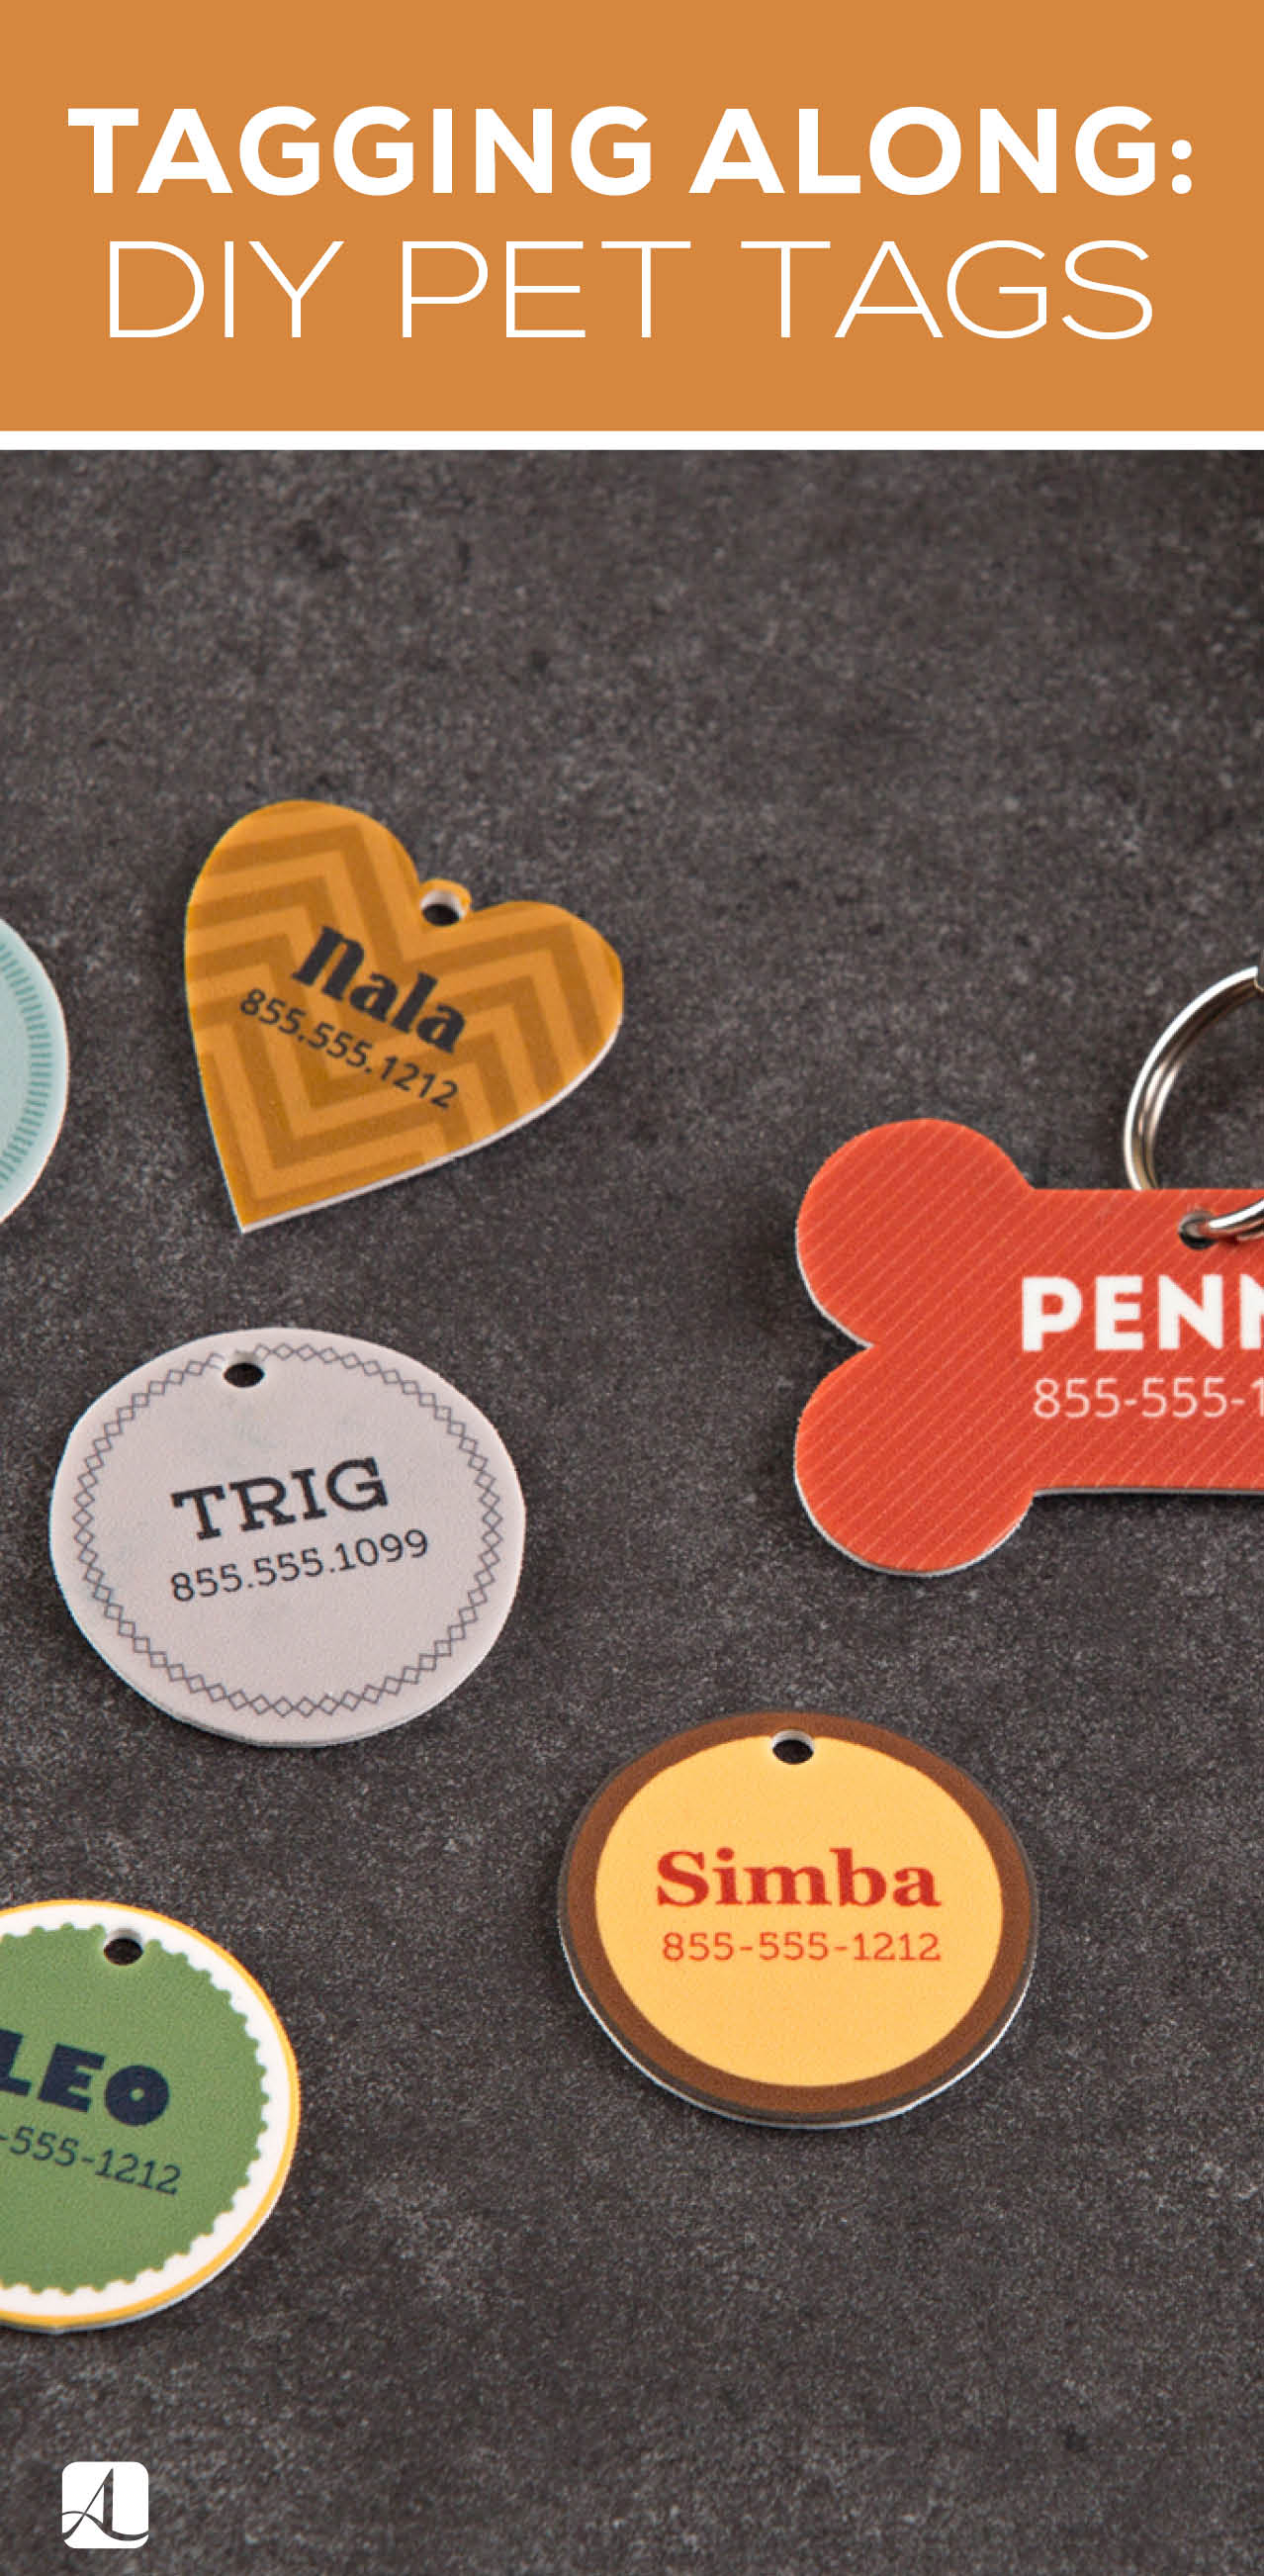
Tagging Along: DIY Pet Tags
Thinking of bringing a new pet into the family? If so, one of the first things your pet’s going to need is a new name. (That’s always a fun first step.) Once you name him, you will also need a pet tag.

Materials
Directions:
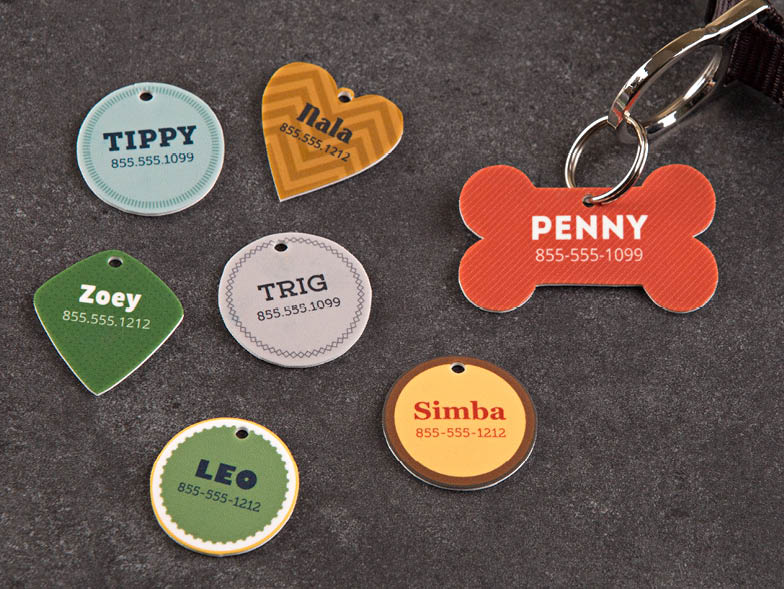
- Download the pet tag templates. Choose the style you want to use, and type in your pet’s name and your phone number in the provided fields.
- Print your tag out on the printable Shrinky Dinks plastic sheet using an inkjet printer. (Note: an inkjet is highly recommended because it works best with the plastic sheet.)
- Cut out your tag, and punch a hole where the key ring will go. (Note: the tag will shrink to about half its size when baking, which is why it’s so big when it is printed out.)
- Place your pet tag on the baking sheet lined with parchment paper. Put baking sheet in the oven, and bake according to the Shrinky Dinks package instructions. Once the tag is done in the oven, take out the tray, and let the tag cool for a few minutes.
- Put one coat of Outdoor Mod Podge on both sides of your tag to protect it from the elements, let dry, and apply a second coat.
- Attach your split key ring to your tag, and put it on your pet’s collar.
